Raising Baby Chicks for Beginners: Your First 6 Weeks
At 7 a.m. on arrival day, six chicks can turn an empty storage tub into a small, noisy weather system. They need warmth, water, feed, dry footing, and a way to move away from the heat. Raising baby chicks for beginners gets much simpler once you manage those needs in order.
The first six weeks are a steady handoff: from a prepared brooder, to a growing floor, to a secure grow-out pen. Use the calendar as a guide, but let the chicks' behavior and feather coverage decide when you adjust the plan.
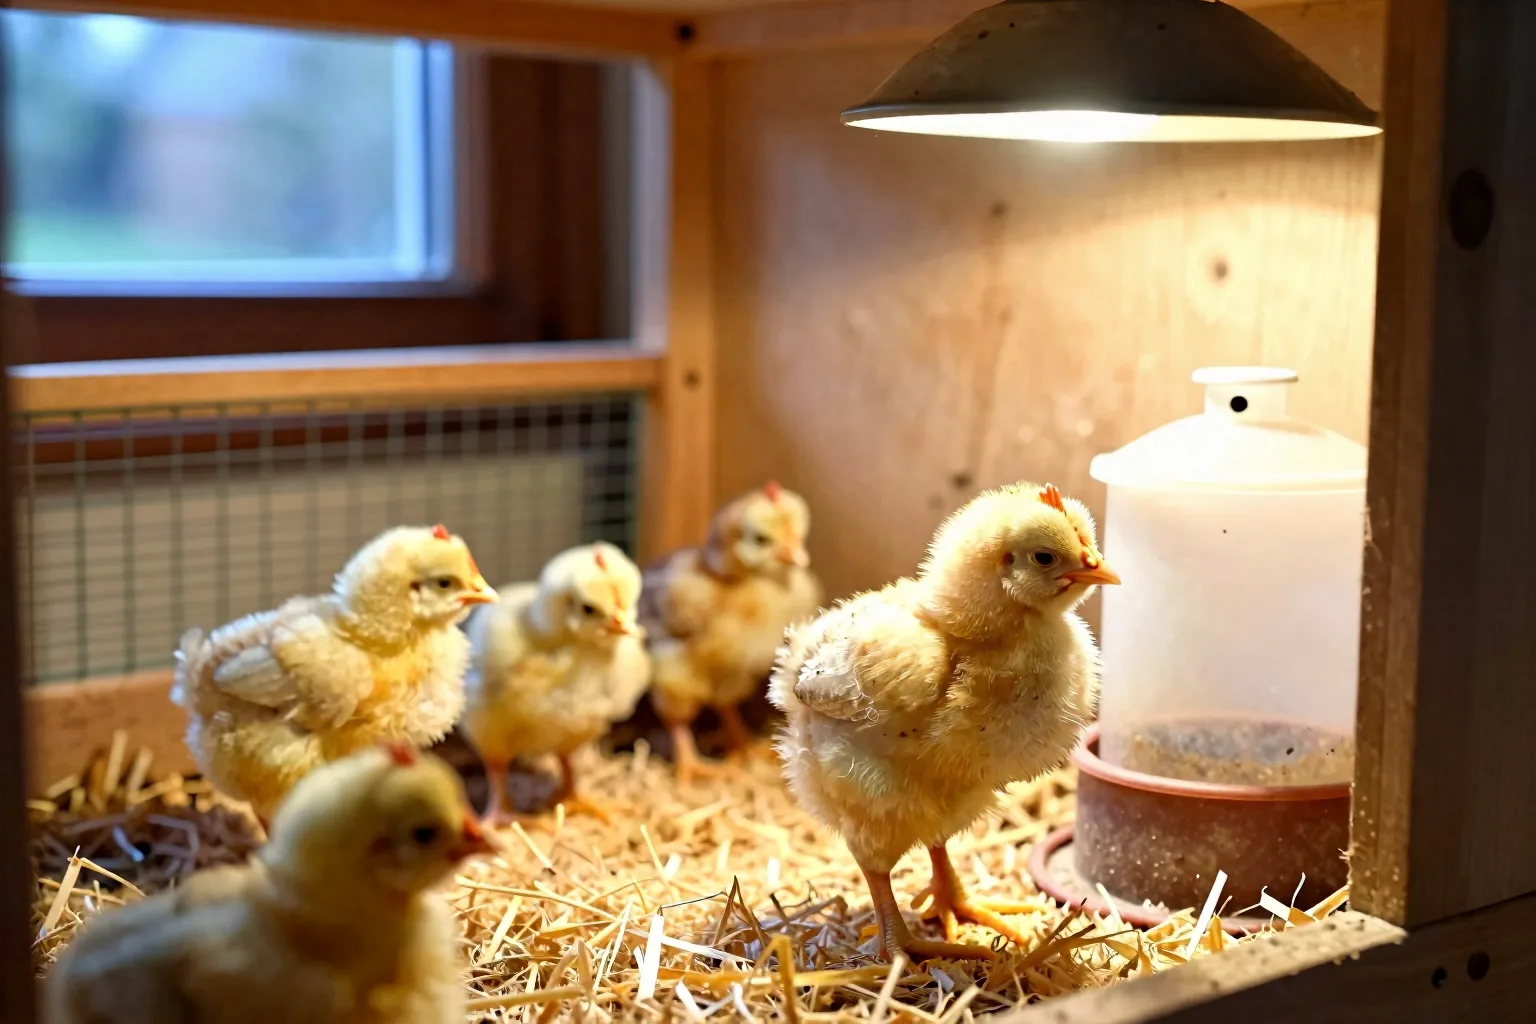
Before Day 1: Build a Brooder That Gives Chicks Choice
Have the brooder assembled, heated, and tested before the box of chicks arrives. A beginner-friendly setup needs:
- A solid-sided box, stock tub, or homemade brooder with no sharp edges.
- A safe heat source that cannot tip, overheat nearby bedding, or be reached by curious chicks.
- A thermometer positioned at chick height in the warmest area.
- Non-slip bedding, such as suitably sized pine shavings or another absorbent product.
- A shallow feeder and a stable waterer that chicks cannot easily overturn.
For chicks staying in the brooder beyond the first couple of weeks, use about 0.5 square feet per chick as a practical starting target. Six chicks therefore need at least 3 square feet. A 2-by-3-foot floor gives 6 square feet and leaves more working room as the birds grow. If your container is smaller, plan the expansion before the chicks begin crowding one another.
Arrange it so a chick can choose
Put the heat source at one end. Put food and water near the edge of the warm zone, not directly beneath the hottest point. Leave a cooler escape area at the other end. The thermometer belongs where a chick's back would be, not on the lid and not on the floor beside the wall.
You want draft-free air at chick level, not a sealed box. Keep openings or ventilation above the birds and above the bedding line so stale, damp air can leave without a cold stream blowing across their backs. For the heat-source decision, see How to set up a chick brooder and choose a safe heat source.
The First 72 Hours: Water, Warmth, and Three Useful Checks
Arrival day
Set the waterer in place first. Touch each chick's beak lightly to the water surface so it can recognize where water is. Let the chick swallow on its own. Don't squirt, pour, or force liquid into the beak. Place a small amount of starter feed where the birds can find it easily, then leave them mostly alone while they settle.
During the first hour, look for a chick that cannot stand, is being pushed out of the warm area, or is unable to reach the waterer. Move the feeder or waterer if the group blocks access. A weak or excluded chick may need a short, quiet period in a small partition beside the group, with warmth and easy access to both resources.
The first night and the next two mornings
Keep checks brief. In the morning and evening, count the birds, watch their movement, and check that each one can reach feed and water. Look at the bedding around the waterer. A soaked patch can chill a chick and quickly turns the brooder into a dirty, slippery place.
Check vents as well. Dried droppings around a vent, often called pasty butt, can restrict further droppings. Soften the material with warm water, wipe gently without pulling, and dry the chick completely before returning it to warmth. Repeated blockage, weakness, or failure to eat and drink needs veterinary advice rather than repeated home cleaning.
Droppings vary after shipping and after a feed change. Look for the overall pattern. Persistent watery diarrhea, blood, or a chick becoming quieter over several checks is a reason to contact a veterinarian or local extension office.
Weeks 1–6 on the Thermometer: Start Near 95°F, Then Taper
For a lamp-style brooder, use this as a starting schedule at chick height in the warmest zone:
| Age | Warm-zone starting point | What you are watching |
|---|---|---|
| Week 1 | About 95°F | Chicks settle under warmth but can walk away. |
| Week 2 | About 90°F | Feathering begins and the group spreads out more. |
| Week 3 | About 85°F | Chicks should move freely between warm and cool areas. |
| Week 4 | About 80°F | Room, bedding, and floor space become increasingly important. |
| Week 5 | About 75°F | Most birds need less supplemental warmth as feather coverage improves. |
| Week 6 | About 70°F | Use feathering and overnight conditions to decide the next move. |
The schedule tapers by roughly 5°F each week. It does not mean every square foot of the brooder must sit at that temperature. The cooler end is part of the design. A chick that is too warm needs somewhere to go.
If you use a heat plate, do not force the plate to match this air-temperature table. Set its height according to the manufacturer's instructions so chicks can brush beneath it while standing naturally. The room's temperature, breed, feathering speed, and weather can all move the useful schedule.
Use behavior as your correction signal. Tight huddling, sharp repeated cheeping, or chicks piling on top of one another point toward cold or poor access to warmth. Panting, holding wings away from the body, or pressing along the far edges points toward excess heat. A relaxed, spread-out group that moves, eats, and sleeps in several positions is the pattern you want.
Feed, Water, and Bedding: The Daily Jobs That Matter Most
Commercial chick starter should be the main ration through the first six weeks. A practical starting point is the 18–20% protein range. The feed label takes priority if your product uses a different formulation or gives a different age range. Keep starter available so chicks can eat small amounts throughout the day rather than waiting for a scheduled meal.
Keep clean water available at all times. Raise the waterer gradually as the chicks grow, keeping the drinking edge around shoulder or back height so they can reach it without climbing inside. Check it twice daily. Spilled water wets bedding, and wet bedding chills small birds, sticks droppings to feet, and adds odor.
Once chicks are steady on their feet, pine shavings or another suitable absorbent bedding usually gives better footing than slick paper. Remove wet patches as soon as you find them. A light layer of dust from dry starter is different from a sharp ammonia smell. If you smell ammonia, remove damp bedding and improve air exchange above chick level.
Treats are optional. If you offer anything besides complete starter, keep it very small so it does not displace the ration, and provide appropriately sized chick grit. Chicks eating only commercial starter generally do not need added grit. Medicated starter is a product choice, not a reason to guess at medication; read the label and ask a veterinarian about the disease risks in your area. Electrolytes can be useful for a specific short-term stress situation when the product label calls for them, but they are not a substitute for clean water, warmth, or diagnosis. For a fuller ration plan, use What to feed baby chicks and when to switch from starter to grower feed.
Weeks 2–4: Expand the Floor and Watch the Birds, Not Just the Calendar
By about week four, keep at least 0.5 square feet per chick available, then add room when the birds are active, the weather is warm, or the brooder stay will be longer. A six-chick group reaches the 3-square-foot minimum at this stage, but a larger floor can reduce feeder contests and let a chick escape a pushy flockmate.
Crowding shows up in practical ways: repeated pecking, dirty vents, wet litter, a feeder ring that blocks smaller birds, or chicks unable to leave the heat. Add floor space before trying to solve those signs with supplements or extra equipment. In a brooder, room is often the first correction worth making.
A short health check
- Lethargy: check warmth, water access, the vent, and whether the chick is being excluded. If it remains dull after those corrections, call a veterinarian.
- Repeated falls or swollen joints: inspect footing and injuries, then seek veterinary advice rather than splinting or medicating by guesswork.
- Abnormal breathing: move the brooder away from dust and fumes, improve ventilation above chick level, and contact a veterinarian if breathing remains noisy or labored.
- Persistent diarrhea or failure to eat and drink: isolate only if needed to protect the chick and maintain warmth, then get professional guidance.
Coccidiosis, respiratory disease, injury, nutritional trouble, and simple chilling can overlap in appearance. That is a diagnostic caution, not a home diagnosis: one symptom should not decide treatment. Veterinary guidance on coccidiosis, dehydration, pasty vents, and chick breathing problems can help you prepare questions before you call.
Weeks 5–6: Decide Whether They’re Ready for a Secure Grow-Out Space
Six weeks is a checkpoint, not an automatic move-out date. Before moving chicks, check their feather coverage, overnight temperatures, the forecast, and the new pen's exposure to wind and rain. A mostly feathered bird still needs dry bedding and shelter from a cold, wet draft.
Use this move-out test
- Reduce indoor heat gradually rather than switching from a hot brooder to a cold pen in one step.
- Give the grow-out space a dry floor, covered shelter, and ventilation that removes damp air without blowing directly across resting birds.
- Use sturdy small-opening mesh over openings and check the roof, sides, floor edge, door, and latch before the chicks arrive.
- Work toward about 1 square foot per chick as they approach the next stage. Six chicks therefore need about 6 square feet, with more room preferable for active breeds or a longer stay.
Treat predator protection as a system. A strong roof does not compensate for a loose door, and good mesh does not help if a raccoon can lift the edge of the pen. This is the point where How much coop and run space do chickens need? becomes useful: adult housing needs more room and a different layout than a temporary brooder.
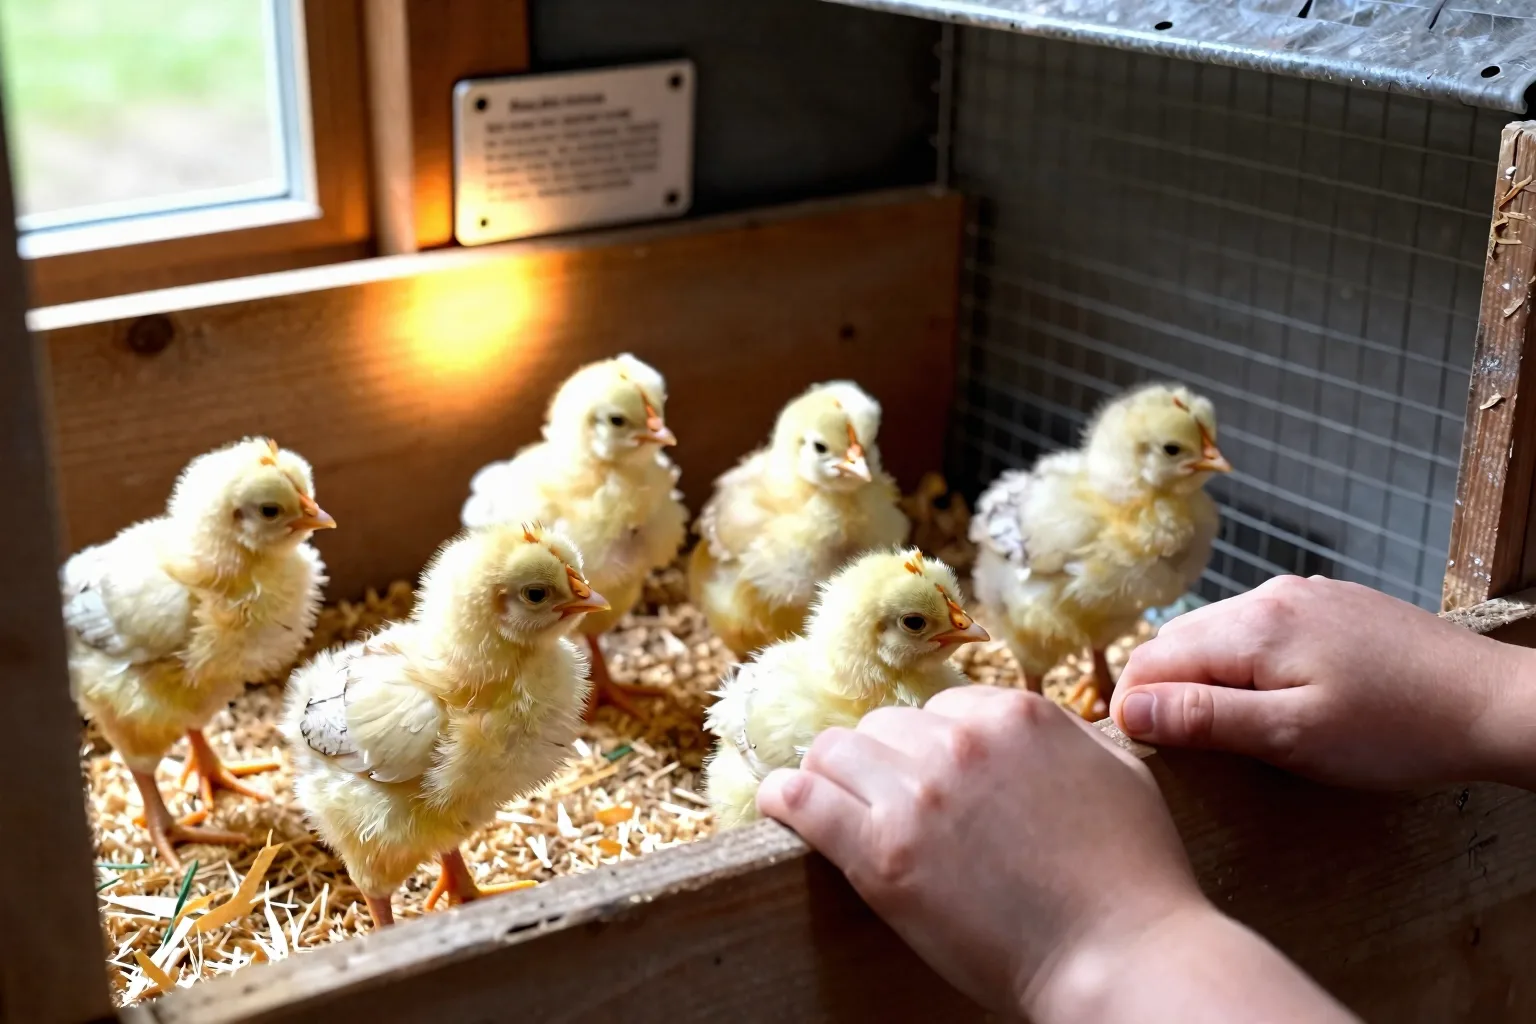
Keep young birds separate from mature hens at first. A separate but visible pen lets both groups see one another without giving adult birds direct access to small chicks. When you are ready for the next stage, follow How to introduce young pullets to an established flock rather than placing the groups together on the first day.
Before the first night outside, stand in the pen and look at it from chick height. Can a chick reach food and water without crossing an exposed corner? Is there a gap at the floor? Can the latch be lifted, nudged, or reached through mesh? Predator protection should be checked as a complete barrier, not as one impressive piece of hardware.
Four Beginner Questions That Come Up During the Six Weeks
Can baby chicks sleep in the dark?
Yes. Heat and light are separate needs. A normal dark rest period is reasonable, and a bright lamp should not be used solely to illuminate the brooder all night. Choose a heat setup that remains secure and does not create a contact or fire hazard when bedding shifts.
What should you do if a chick has pasty butt?
Soften the dried droppings with warm water, wipe gently without pulling, and dry the chick completely. Check warmth, water access, and activity afterward. Repeated blockage, weakness, or failure to eat and drink warrants veterinary advice.
Do baby chicks need grit if they are eating treats?
Chicks eating only commercial starter generally do not need added grit. If you offer treats or other foods, use appropriately sized chick grit and keep the extras small. Treats should not become the part of the diet that fills the feeder.
Can you raise just one baby chick?
A single chick is usually a poor beginner plan because chicks are social and a lone bird has no compatible companion for normal flock contact. Plan for at least two, while checking the hatchery's order rules and the sexing options before you buy.
Your next action this week: tape out a 2-by-3-foot brooder footprint for six chicks, place the heat, feeder, waterer, and thermometer, and run the setup empty for 24 hours. Check the warm and cool ends at morning and evening room temperatures. If you are hatching at home, make this brooder test part of your hatch-day plan, alongside How to set up a chick brooder and choose a safe heat source.
Frequently Asked Questions
Can baby chicks sleep in the dark?
Yes. Heat and light are separate needs, so provide a normal dark rest period and avoid using a bright lamp solely to keep the brooder illuminated all night. Choose a safe heat setup that does not create a fire or contact hazard.
What should you do if a chick has pasty butt?
Soften the dried droppings with warm water, wipe gently without pulling, dry the chick completely, and check warmth and hydration. Repeated blockage, weakness, or failure to eat and drink warrants veterinary advice.
Do baby chicks need grit if they are eating treats?
Chicks eating only commercial starter generally do not need added grit. If you offer anything besides starter, provide appropriately sized chick grit and keep treats very small so they do not displace the complete feed.
Can you raise just one baby chick?
A single chick is usually a poor beginner plan because chicks are social and need a compatible companion. Plan for at least two chicks, while checking local hatchery order rules and sexing options before ordering.