Feeding Baby Chicks: What to Give From Day 1 to Week 6
Ten grams of starter per chick per day is a useful week-one planning number, but it isn’t a ration to measure out and restrict. On arrival day, your job is simpler: warm the brooder, make water obvious, and leave complete starter within reach.
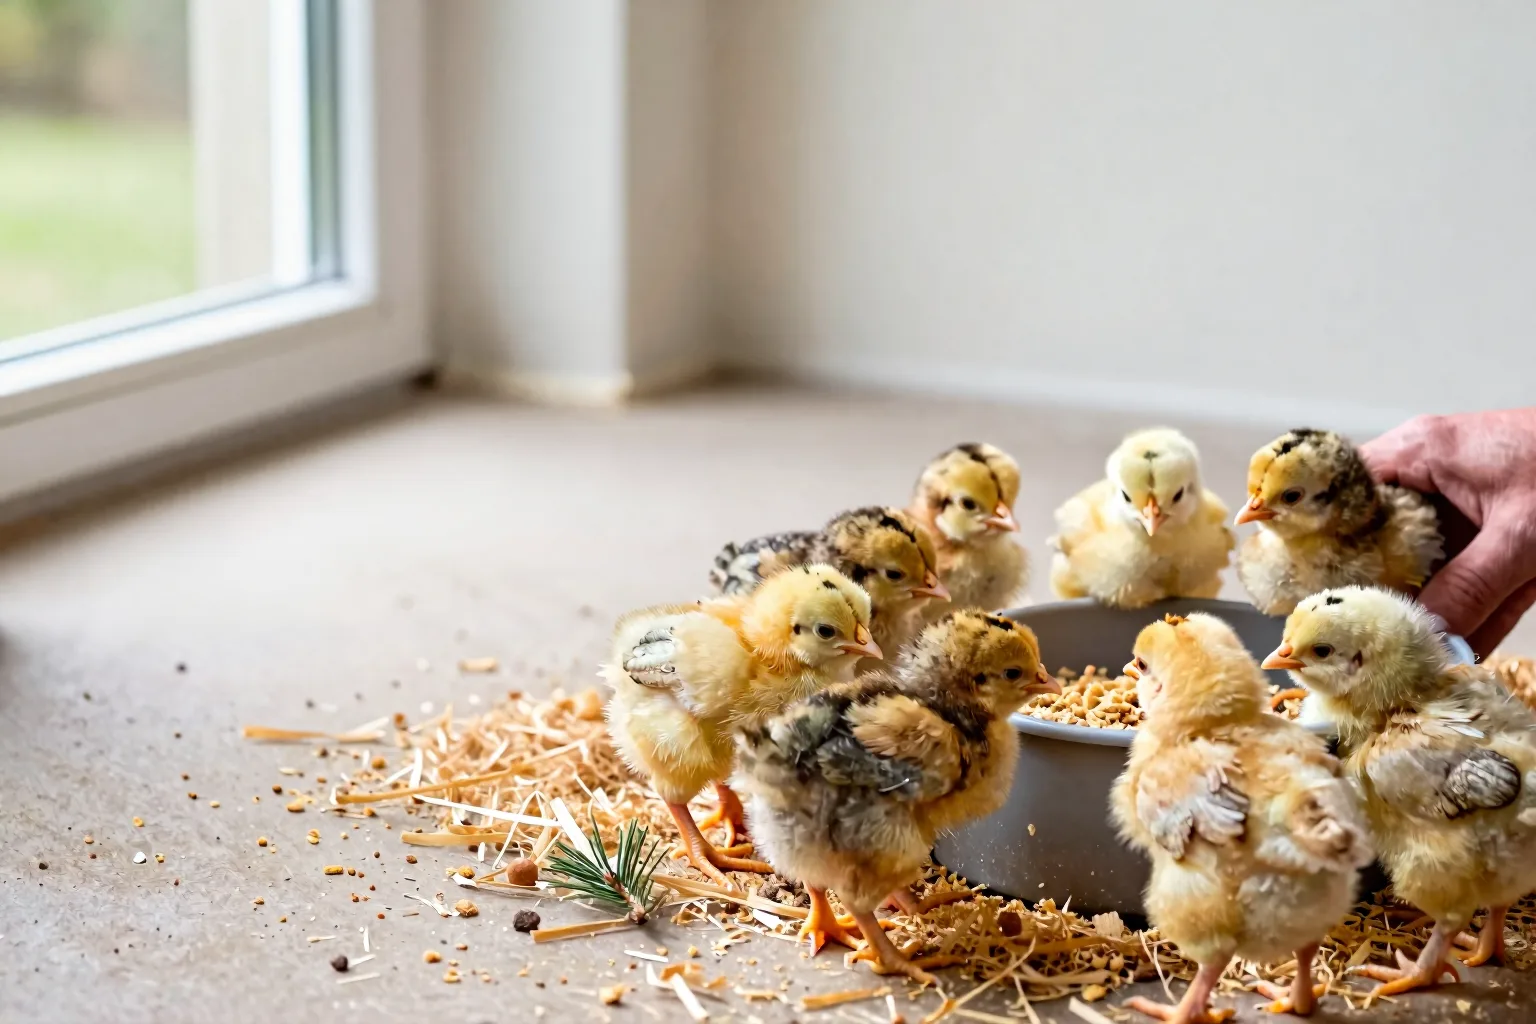
The practical test is six chicks able to reach dry crumble and water without climbing, squeezing under a feeder, or being shoved aside. That simple setup matters more than a snack menu during the first six weeks.
The first 30 minutes: water, then starter within reach
Warm the brooder before the chicks arrive. Check the heat at chick height, put down dry bedding, fill the waterer, and place fresh starter in a low feeder or shallow dish. A cold brooder can make chicks huddle instead of eating. An overheated brooder can make them avoid both feed and water.
Set each chick near the water. If one doesn’t locate it, touch only the tip of its beak to the surface, then let it lift its head and drink. Don’t dunk the chick’s face. Once an alert chick is drinking and pecking, forced feeding isn’t needed.
Plain, clean water is the sensible default. Routine sugar water adds another sticky substance to a brooder that already collects dust and droppings. Use an electrolyte product only for a specific reason and exactly as its label directs. For heat targets and chick behaviour, use the guide called Brooder temperature for chicks from day 1 to week 6 alongside this feeding plan.
A complete crumble beats a clever homemade mix
Chick starter is designed as a complete ration. That means its formulation is meant to cover protein, amino acids, vitamins, and minerals together, rather than asking you to balance each nutrient at home. The word complete matters more than a single impressive number on the bag.
For backyard planning, I use 18–22% crude protein as a practical screening band for chick starter. That’s a shopping heuristic, not a universal prescription and not proof that a feed is suitable. Read the whole label:
- It should identify chickens and the intended chick or starter age range.
- It should state that the feed is complete, with feeding directions and a guaranteed analysis.
- Check the crude-protein figure, but also read the medication section and active ingredient.
- Look for a use-by date or lot information, and reject bags that smell stale, feel damp, or contain obvious mould or insects.
Fine crumble is my default for newly hatched chicks because small beaks can pick it up without breaking pellets apart. Mash can work, but damp mash cakes quickly and dry mash can be dusty. Pellets may simply be too large for very young chicks. Layer feed, scratch, cracked corn, loose grains, and kitchen scraps can dilute a growing chick’s complete ration, so none should replace starter.
If you want a second label check, compare the bag with University extension guidance on chick starter nutrient levels and pullet feeding phases before ordering.
Use free-choice feed, but budget by the week
Keep starter available whenever your chicks are awake. The figures below are my backyard-planning heuristic for purchase estimates, not portions to dole out. A chick that finishes its feed should be able to return to a clean feeder.
| Week | Starter per chick per day |
|---|---|
| 1 | 10–15 g |
| 2 | 15–22 g |
| 3 | 20–30 g |
| 4 | 25–35 g |
| 5 | 30–42 g |
| 6 | 35–50 g |
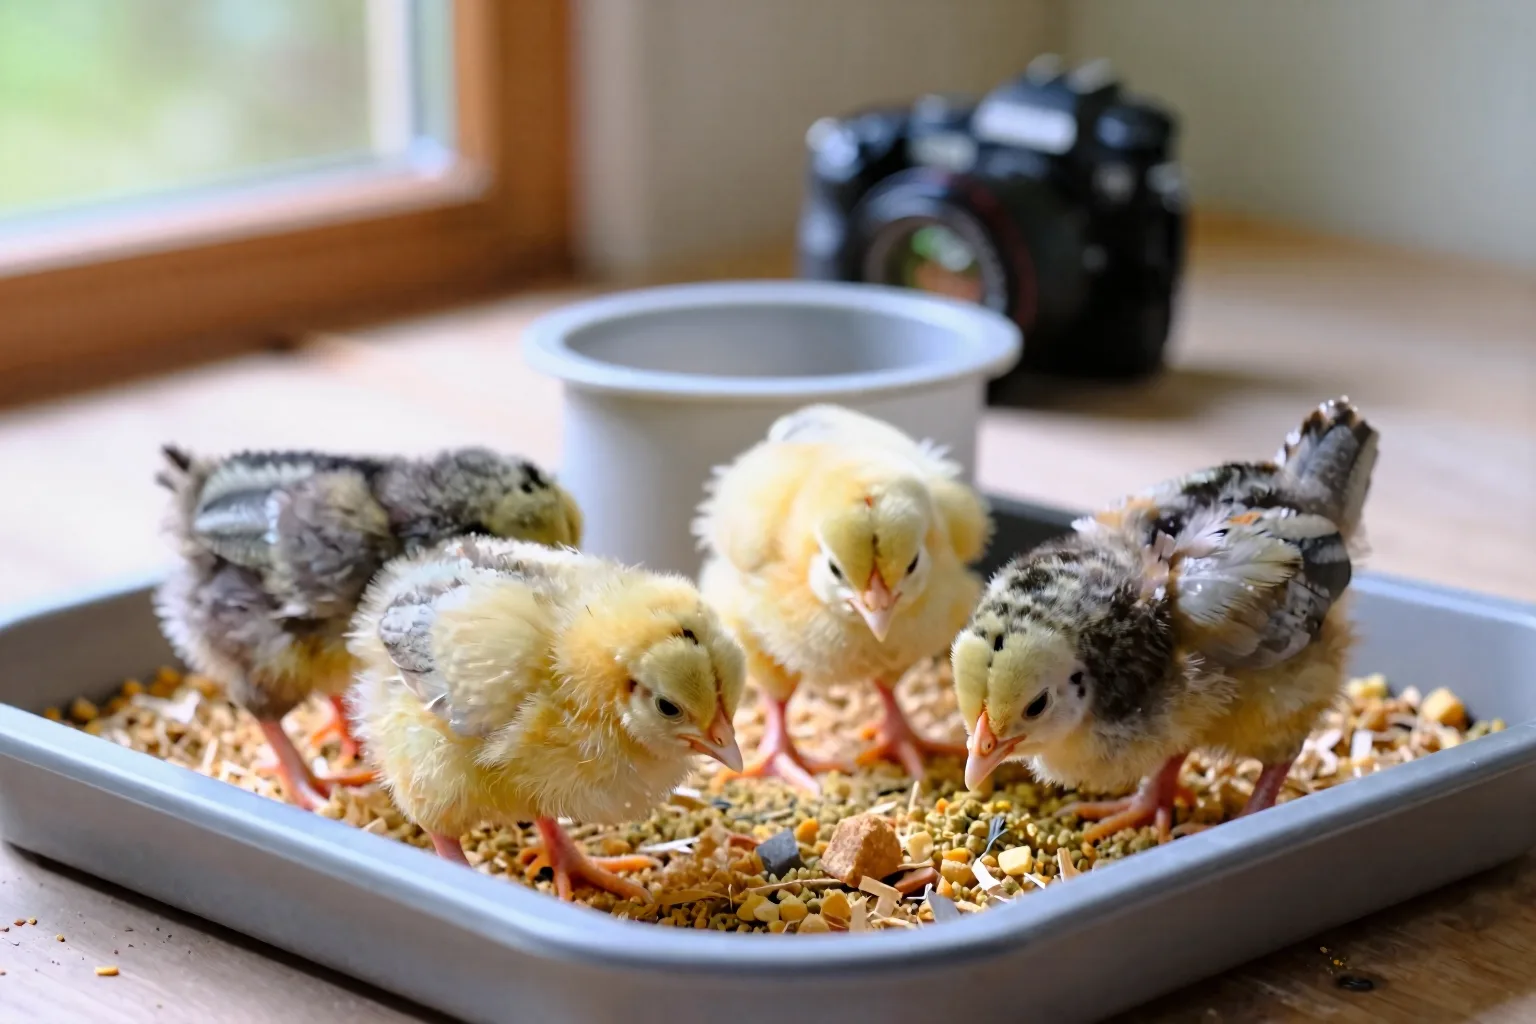
The table is a planning tool, not a ration limit. To reproduce the six-week math, add the daily figures first, then multiply by seven days in each week. The low estimate is (10 + 15 + 20 + 25 + 30 + 35) g per day × 7 = 945 g per chick. The high estimate is (15 + 22 + 30 + 35 + 42 + 50) g × 7 = 1,358 g per chick.
For six chicks, multiply those totals by six: 5,670–8,148 g, or about 5.67–8.15 kg. Converting kilograms to pounds gives roughly 12.5–18.0 lb eaten through week 6. That is the corrected consumption estimate; 10 lb is not a sensible allowance.
For purchasing, have about 15–20 lb available, or choose the next full bag above 18 lb. The low end leaves a little room for ordinary spillage. The high end gives you room for heavier breeds, cold conditions, or a feeder that gets scratched full of bedding. Breed size, stress, temperature, and waste can all move the actual total. A related calculation is How much chick starter feed do six chicks need each month?
Waterer mistakes can look like a feed problem
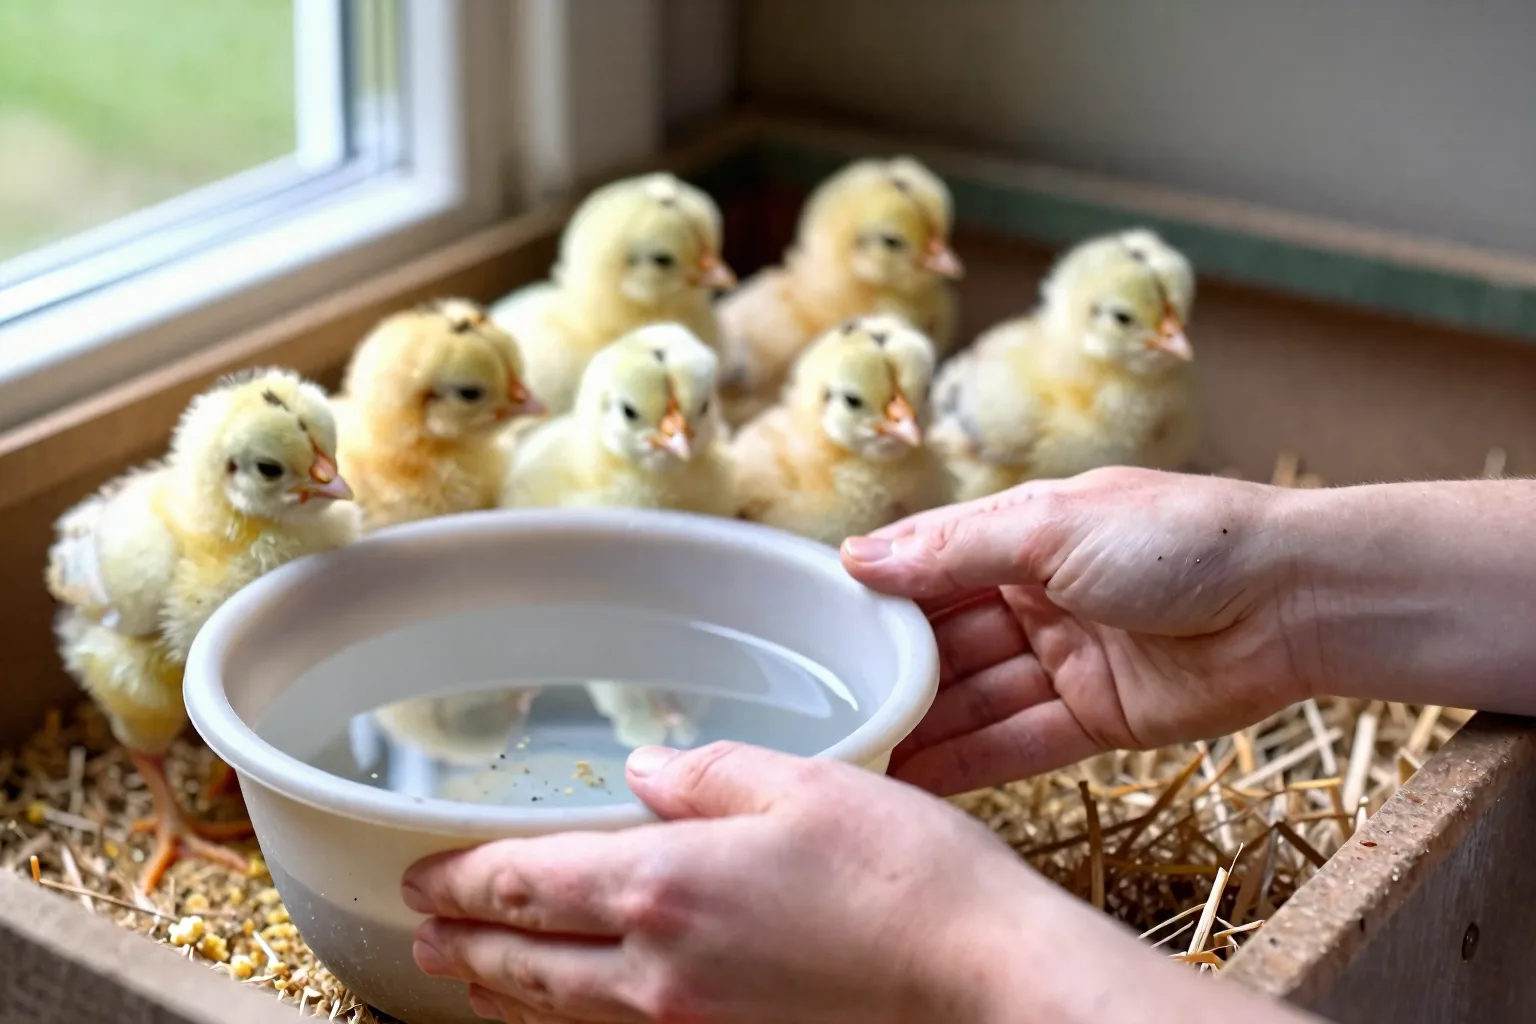
Water is part of feeding. A chick that cannot drink comfortably may peck at starter, then stop, leaving you to blame the feed. Use a chick-safe waterer with a stable base and a shallow drinking point. Avoid an open container deep enough for a chick to climb into. As your birds grow, raise the waterer on a low, stable block so they can reach the lip without standing in it.
Keep it away from loose bedding and refresh it at least daily. Replace it sooner if it is fouled, cloudy, or full of shavings. A dirty waterer can reduce drinking and wet the surrounding feed, turning clean crumble into a caked mass. If dehydration, transport stress, or unusually hot weather is a concern, an electrolyte product may be considered only according to its label or veterinary advice. It isn’t a routine substitute for clean water.
Treats are optional; chick grit starts when extras do
Complete starter already supplies the nutrition your chicks need. Treats are for handling, observation, or variety, not for improving a ration that is already complete. Wait until the chicks are reliably eating starter, then offer a tiny portion rather than filling a dish.
Plain, fully cooked egg crumbled into very small pieces, finely chopped tender greens, and a few mealworms are workable occasional examples. When chicks eat anything outside their complete feed, provide chick-sized insoluble grit in a separate container. Grit helps grind food in the gizzard; it isn’t a vitamin supplement and it isn’t a replacement for starter.
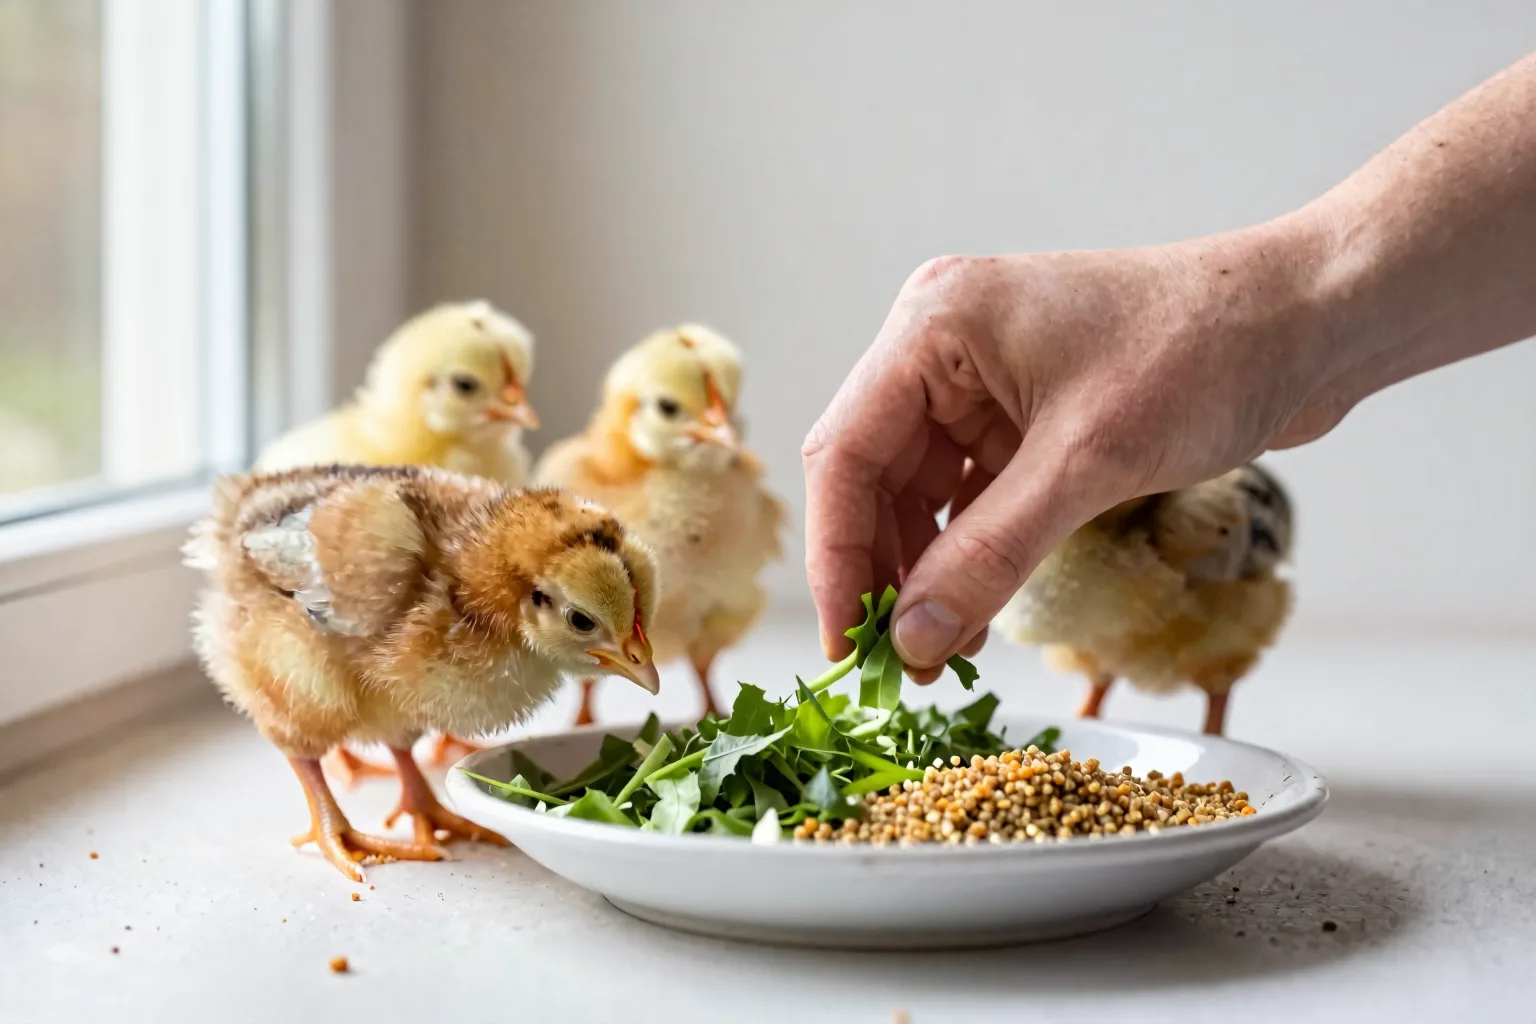
Remove wet treats after 15–20 minutes. Don’t offer salty, sugary, greasy, mouldy, or spoiled food. My rule is blunt: if an extra makes the feeder dirty or the starter bowl less interesting, it has already earned too much space in the brooder.
Week 4 to 6: keep starter steady and watch the label
Six weeks is a checkpoint, not a universal switch date. Some starter products are intended to continue to 6–8 weeks. Others direct you to move to grower or developer feed at week 6. Your bag’s age range and feeding directions take priority over a calendar rule.
When a change is called for, follow the product’s transition instructions. If the label recommends a gradual change, mix the old and new feeds over the stated period rather than changing everything in one scoop. Watch that every chick continues eating and that droppings and growth don’t change sharply after the switch.
Don’t move six-week-old chicks to layer feed simply because it is available. Layer feed is formulated for birds producing eggs, with a calcium level intended for that stage. Growing pullets and cockerels have a different job. For the full age decision, see When to switch pullets from starter to grower and layer feed.
Medicated or unmedicated? Make the choice from risk, not guesswork
Start with the label’s active ingredient. Medicated starter may contain an anticoccidial, while an antibiotic is a different drug class. Amprolium, for example, is an anticoccidial rather than an antibiotic. The word medicated alone doesn’t tell you what the feed does.
Your choice can depend on whether the chicks received a coccidiosis vaccine, the conditions in which they were raised, local coccidiosis pressure, the history of your brooder, and any organic-feed requirement you follow. Ask the hatchery, veterinarian, or local extension office what applies to your flock. A coccidiosis vaccine and a medicated ration may require label-specific handling, so don’t make assumptions about combining them.
Read veterinary references on coccidiosis, amprolium, and medicated-feed label use before buying a medicated product. Also check Organic poultry-feed labeling and certification requirements if that standard matters to you. Never use a medicated feed as a homemade treatment for a weak chick, and don’t combine feed medication with water medication unless the label or a veterinarian specifically directs it. A sick chick needs diagnosis, not a guess at dosage.
When a chick is not thriving: a quick feed-and-water check
Change one practical thing at a time. First check heat, access, water, and feed condition. If the problem persists, or if more than one chick is affected, move from equipment checks to veterinary advice.
Use this order before changing feed, because a feeding symptom often starts somewhere else:
| What you see | Check first | Escalate when |
|---|---|---|
| Feed is untouched | Check brooder temperature, feeder height, stale smell, and whether water is reachable. | A chick is weak, cold despite correction, or several chicks stop eating. |
| Feed is wet or caked | Move the waterer, remove contaminated feed, and refill with dry crumble. | The feed keeps becoming wet or chicks show dehydration. |
| One chick is pushed away | Add a second feeding point and look for crowding, injury, or a chick too weak to compete. | It remains isolated, cannot stand, or won’t drink. |
| Loose droppings continue | Remove treats, check water cleanliness, heat, feed freshness, and pasting around the vent. | There is blood, marked weakness, ongoing dehydration, or more chicks become affected. |
| Lethargy or poor growth | Check access to both stations and compare body size and activity across the group. | The chick has breathing trouble, severe weakness, or worsening signs. |
A single soft dropping doesn’t establish a feed problem. Persistent change is more useful information. Check the vent gently for dried droppings, and use Pasty butt, dehydration, and other early chick health checks for the wider first-week inspection. Blood in droppings, breathing difficulty, collapse, or ongoing dehydration is beyond a feed adjustment; contact a veterinarian or local extension office.
Build the six-week feeding station, not a snack menu
For a small flock, your equipment list is short:
- Complete chick starter in a fresh, correctly sized bag.
- A low feeder broad enough for all the chicks to reach without climbing into it.
- A stable chick-safe waterer that can be cleaned quickly.
- Chick-sized insoluble grit only if you offer treats or other foods outside starter.
For six chicks, plan on roughly 12.5–18 lb eaten through week 6 and keep 15–20 lb available, or buy the next full bag above that range. To rebuild the cost locally, divide the current bag price by the bag’s weight, then multiply by 15–20 lb. Check current local prices and bag sizes before you order.
Once a week, check four things: dry feed, clean water, easy access, and a reasonably even flock. Inspect the feeder several times during the day in the first week. Record the feed label’s transition instruction and keep it with your brooder notes. It is more reliable than trying to remember a generic switch date.
Do baby chicks need food overnight?
Keep dry starter and clean water available whenever chicks are awake, but don’t wake them or extend light solely to make them eat. A normal brooder schedule should include a dark rest period. The goal is access, not a 24-hour feeding performance.
Can baby chicks eat boiled egg?
Yes, plain fully cooked egg can be an occasional treat after chicks are reliably eating starter. Crumble it finely, offer very little, remove leftovers within 15–20 minutes, and provide chick-sized grit with the extra food.
How often should you clean a chick feeder?
Inspect it several times a day. Remove wet or caked feed immediately. During the first weeks, wash and dry it daily, and never pour fresh starter over damp or stale fines.
This week’s action: set up the feeder and waterer before the chicks arrive, then photograph or save the starter label’s age and transition instructions. If heat is your next question, follow the linked brooder guide; if feed is the budget worry, use the six-chick monthly calculation before buying the bag.
Frequently Asked Questions
Do baby chicks need food overnight?
Keep dry starter and clean water available whenever chicks are awake, but do not wake them or extend light solely to make them eat; a normal brooder schedule should also include a dark rest period.
Can baby chicks eat boiled egg?
Plain, fully cooked egg crumbled into very small pieces is an optional occasional treat after chicks are eating starter reliably; offer little, remove leftovers within 15–20 minutes, and provide chick-sized grit.
How often should you clean a chick feeder?
Inspect it several times a day, remove wet or caked feed immediately, and wash and dry it daily during the first weeks; never pour fresh feed over damp or stale fines.