How to Protect Poultry From Predators: 7 Steps for Beginners
One half-inch opening can change a finished-looking run. If you’re deciding how to protect poultry from predators, build for the route a predator can use, not the animal you hope stays away. These seven steps cover the coop, mesh, ground edge, roof, food, and the weekly checks that keep a small flock safer.
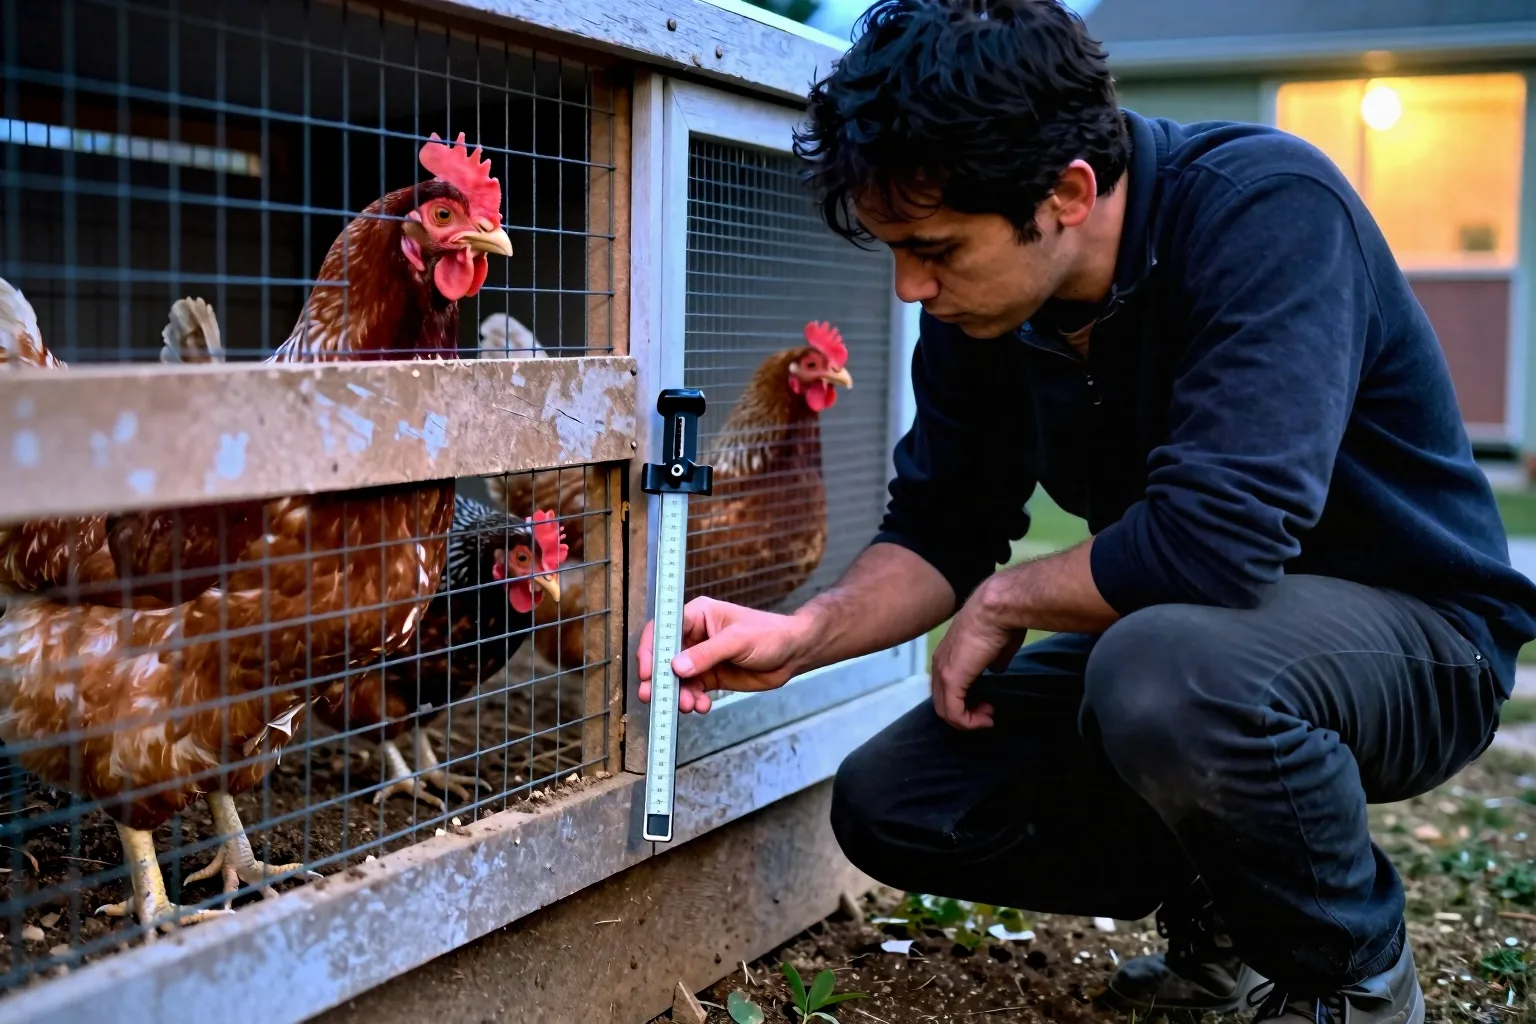
First, map the predators that can reach your yard
Walk the property before buying materials. With three to twelve birds, you can usually make a useful first map in one careful circuit. Look at the time of day, nearby brush, fence gaps, loose soil, feathers, tracks, disturbed feed, and any place a climbing animal could reach the roof.
These clues suggest a route, but they don’t prove which predator used it. A hawk makes you think about open sky and perches. A dog or coyote makes you inspect the fence and ground edge. A raccoon makes you look at latches and roof corners. Daylight checks should make you think about hawks, dogs, and climbing animals. At night, raccoons, foxes, and some owls may be the more relevant concern in your area.
In winter, dense vegetation, or a yard with recent wildlife activity, move the evening check earlier and walk the outside of the coop. Your first job isn’t naming the predator. It’s finding every route that lets an animal reach your birds. For a second opinion on the basic layout, compare your plan with Cooperative Extension guidance on predator-proof poultry housing.
Step 1: Lock birds into a hard-sided coop before dusk
Dusk is a deadline, not a reminder. Close your birds into a hard-sided coop before local dusk, while you can still see the door frame, latch, and ground around the entrance. A solid door should sit flush against its frame. It should not lift, slide, or push inward from outside.
Use a latch that stays engaged if the door shifts slightly. If you use an automatic door, test several complete open-and-close cycles and check it whenever seasonal daylight changes alter your routine. Keep a manual backup for a flat battery, motor fault, or power failure. Ventilation should stay high on the walls and covered with rigid mesh. Don’t seal the coop airtight in an attempt to make it secure; stale, damp air creates a different management problem.
Step 2: Replace chicken wire with welded hardware cloth
Use 1/2-inch welded hardware cloth, commonly 19-gauge or heavier, over run walls, windows, vents, and pop-door gaps. Treat that as a practical baseline for a small backyard flock, not a universal specification. If small-bodied predators are a known problem locally, a smaller opening may make sense, provided the mesh still allows adequate ventilation.
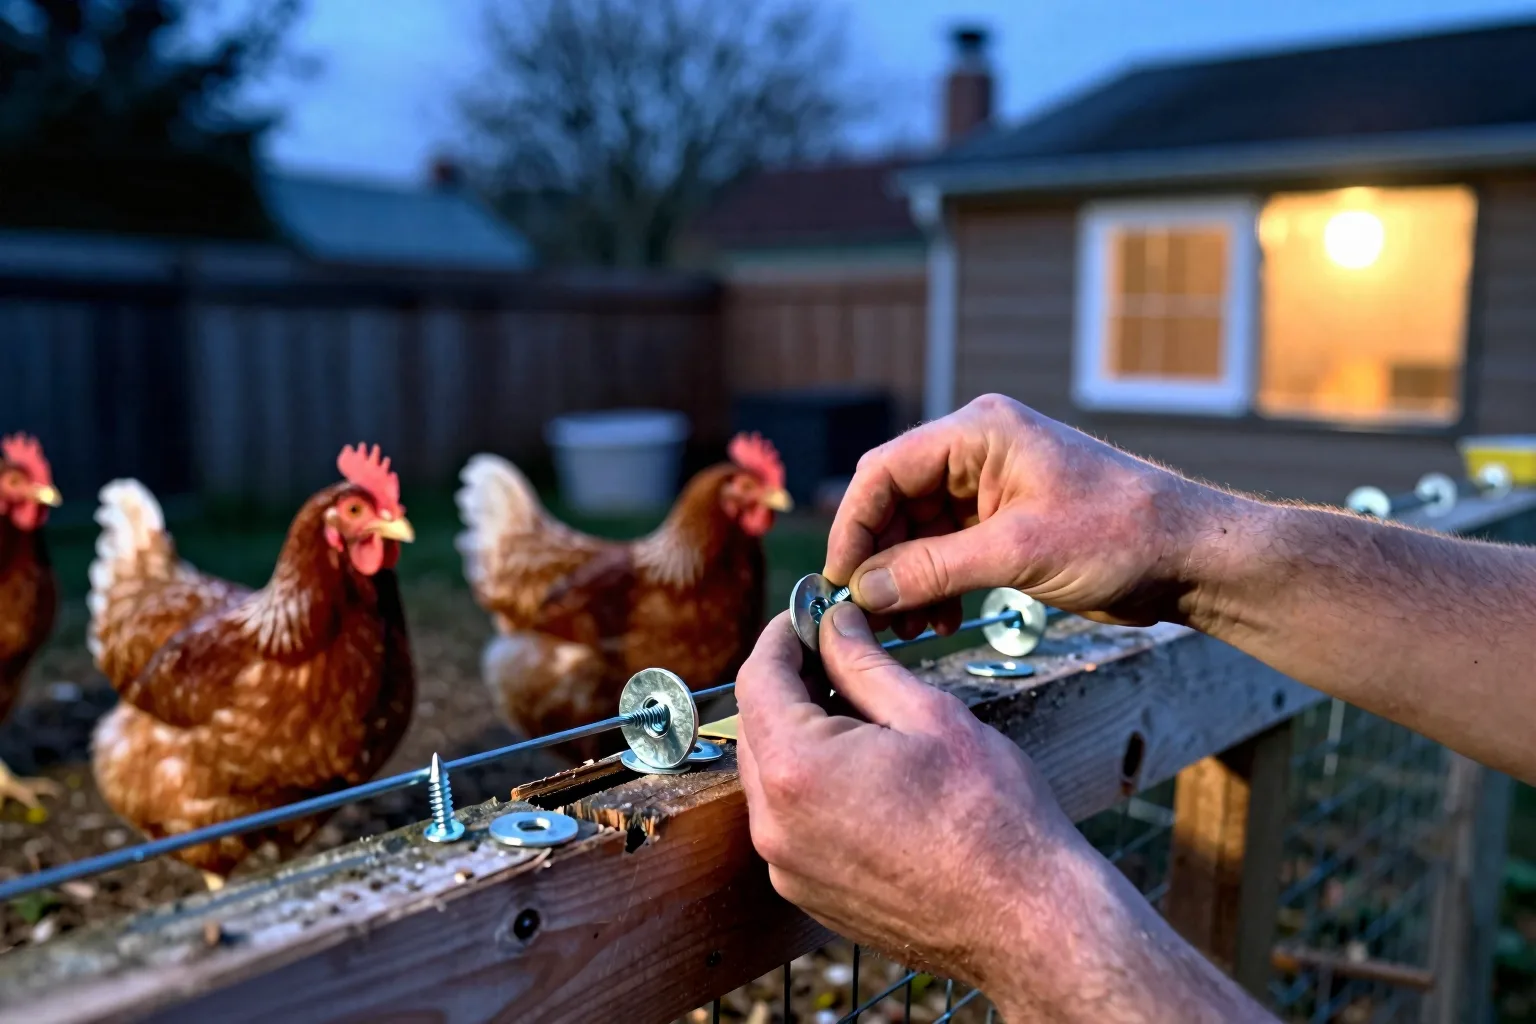
Chicken wire can look tidy while still flexing under claws, teeth, or repeated pressure. I treat it as a way to contain birds, not as the main predator barrier. Fasten rigid mesh with screws and broad fender washers rather than relying on a few staples. Overlap seams. Fold or cap sharp edges. Inspect old mesh for rust, pulled staples, and holes that appeared after a branch or lawn tool struck it. Patch the damaged section instead of covering it with another loose layer.
Step 3: Defeat diggers with a buried edge or ground apron
Give digging predators one of two obstacles. Bury mesh roughly 8 to 12 inches straight down, or lay a 12- to 18-inch hardware-cloth apron outward from the run wall. Pin the apron tightly to the soil so it stays flat. A predator that starts digging beside the wall then meets mesh under its paws rather than finding an easy tunnel beneath the fence.
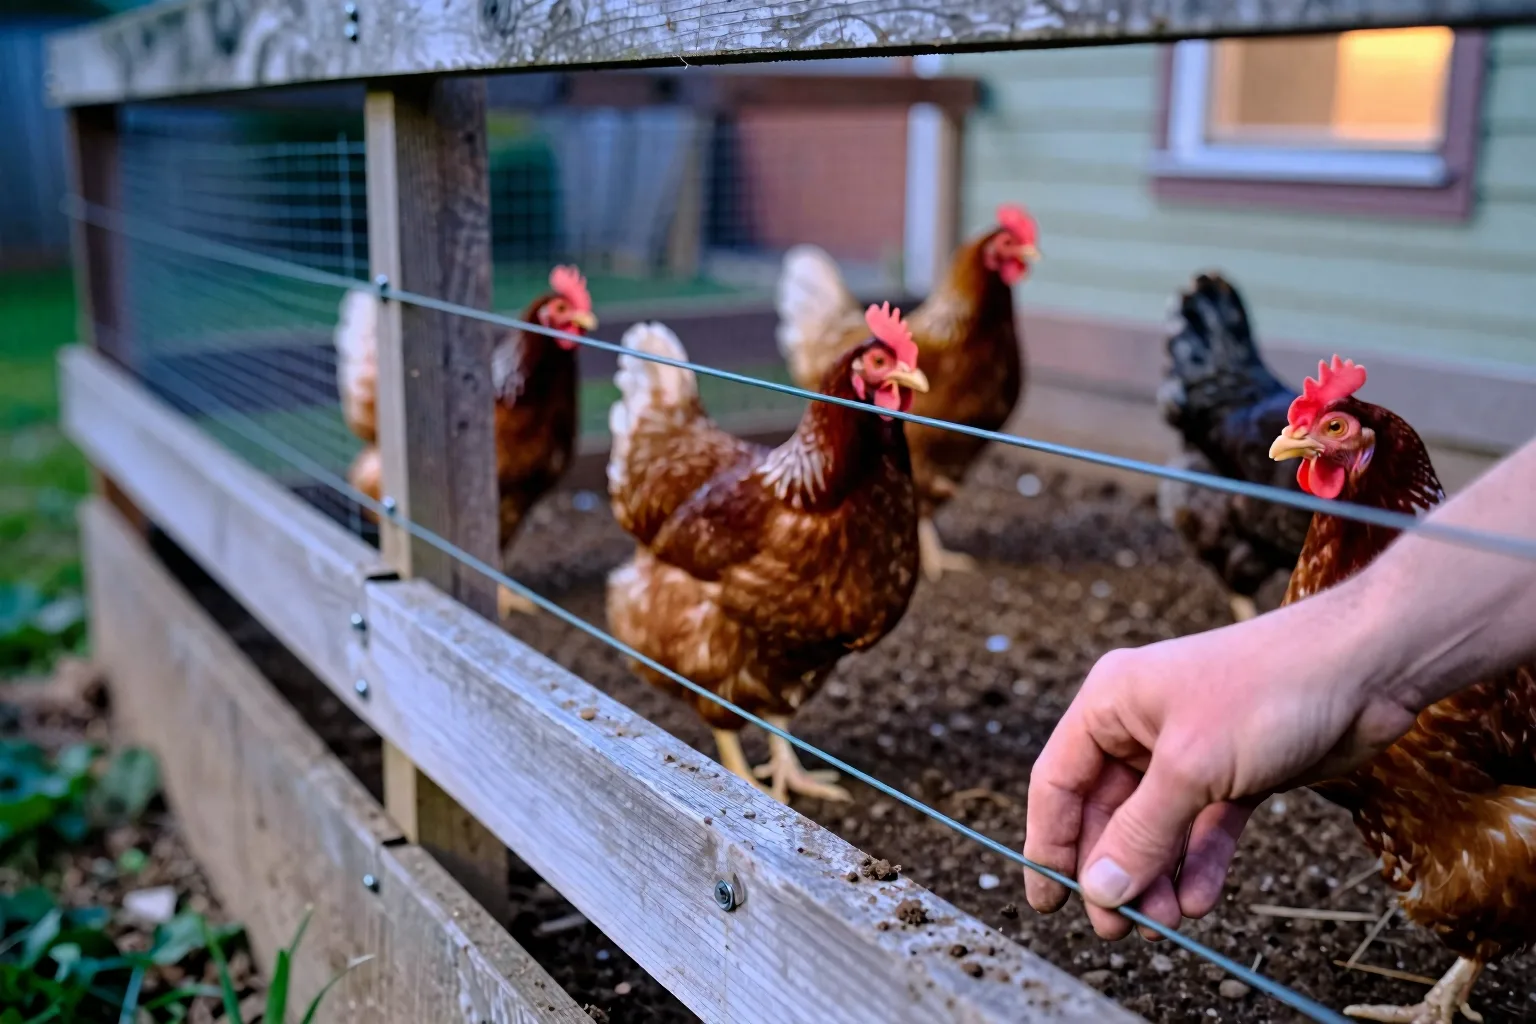
Run the barrier continuously past the gate threshold and around every corner. Close the place where the apron meets a foundation, fence, or another run panel. Check it after heavy rain, frost movement, or soil washout. If fox pressure is high and your soil is rocky, I’d choose the outward apron: trenching is slower, and disturbed stones can leave a loose edge that is difficult to pack tightly. See How to build a predator-proof chicken run with a hardware-cloth apron for a build focused on this section.
Step 4: Brace doors, latches, corners, and climbable routes
Make every opening sit squarely in its frame. Reinforce weak corners and cover ventilation openings that a paw can reach. For a latch, choose two distinct motions, such as lift then slide, instead of a simple hook or turn latch. A loose carabiner may hold a door shut, but it isn’t automatically resistant to prying or shifting.
Look upward as well as sideways. A roof edge, stacked lumber, shelf, fence rail, or tree limb can create a route to the run roof. Move those aids or extend the barrier around them. No single latch deserves a universal predator-proof label. Test the one you install by pulling, lifting, and twisting the closed door from several angles.
Step 5: Cover the run against hawks and owls
The run needs a complete overhead barrier, not a narrow strip over the most obvious perch. Cover the gate and close the roof-to-wall seam. Bird netting can be useful where the main goal is blocking an aerial approach, but rigid welded mesh is my choice when raccoons or other climbers can reach the roof.
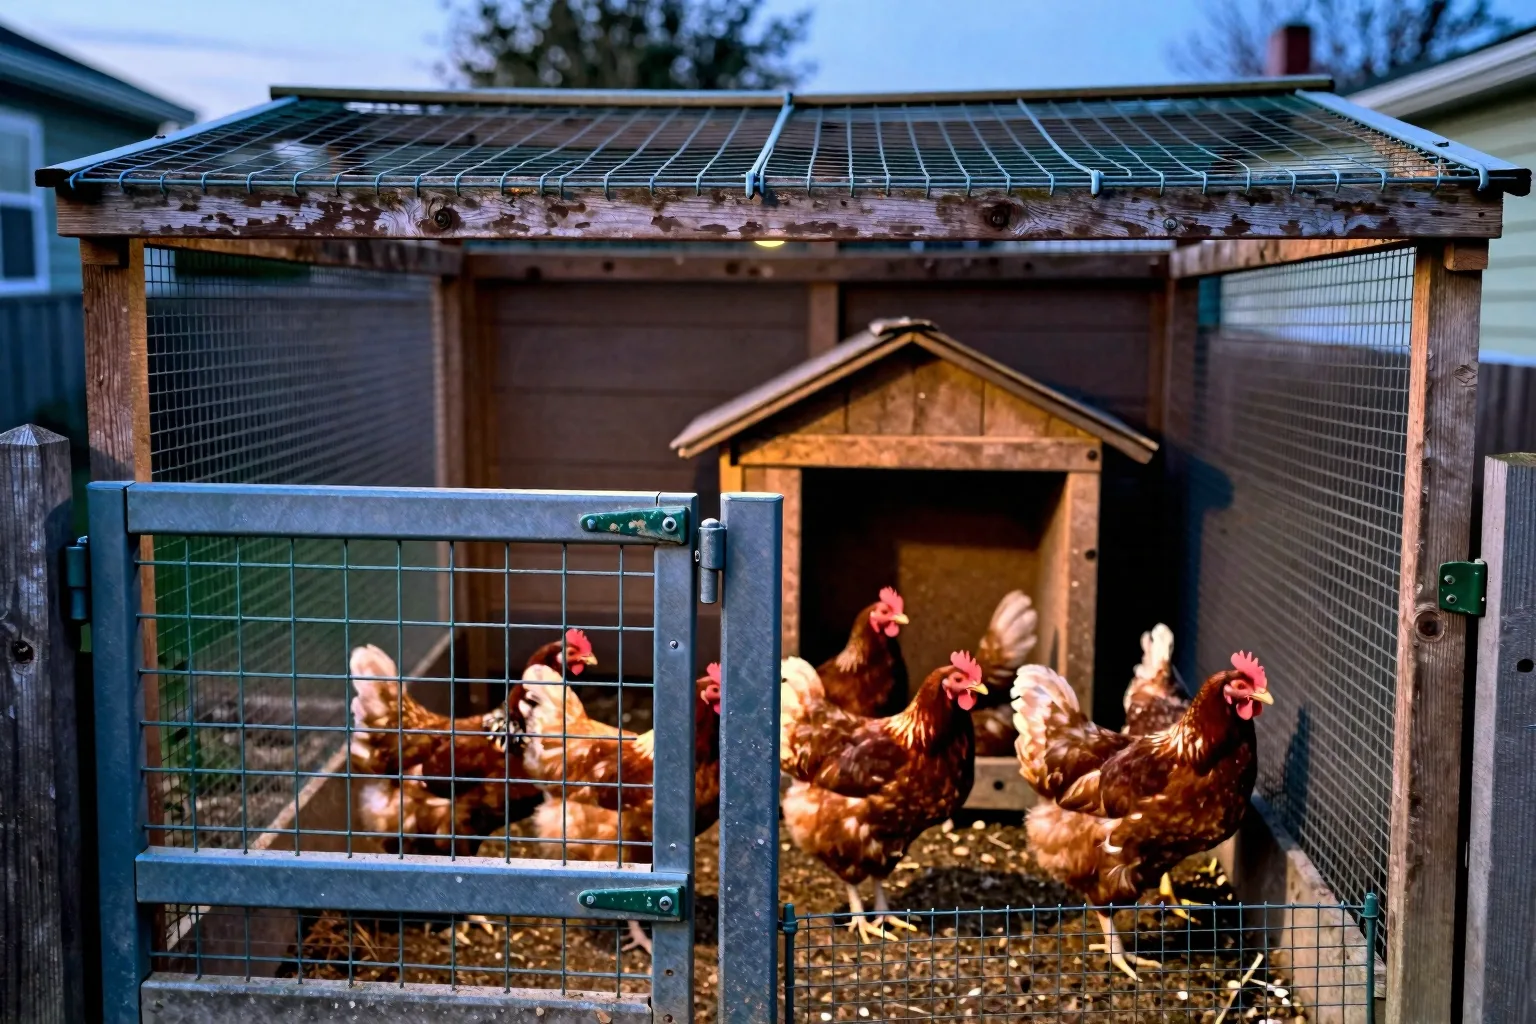
Give your birds a covered retreat inside the run too. A low shelter, solid panel, or roofed corner lets them move out of an exposed rectangle instead of standing in the open whenever a shadow passes overhead. If the retreat changes your layout, use How much coop and run space do backyard chickens need? before you order panels. More usable cover is often worth more than a larger but completely exposed run.
Step 6: Use electric fencing as a targeted outer layer
Add a commercial poultry-rated electric net or offset wire when foxes, dogs, coyotes, or similar ground predators keep visiting despite a sound enclosure. As a starting layout, place the offset about 6 to 12 inches outside the main barrier, then follow the product instructions for spacing, testing, and grounding.
Use the supplied fence tester. Cut vegetation that touches the wire. Keep the energized section away from places where children, pets, or visitors may reach it. Electric fencing can discourage an approach, but it doesn’t replace a locked coop, rigid mesh, or a sound ground edge. Think of it as an outer alarm and delay, not the wall your birds depend on.
Step 7: Remove the food and cover that invite predators
Reduce the reasons an animal has to investigate the enclosure. Store feed in a tightly closed metal or heavy-duty container. Remove scraps before night. Collect eggs regularly, and keep pet food and unsecured compost away from the coop. These steps won’t make wildlife disappear, but they reduce loose rewards beside the barrier.
Clear dense hiding cover immediately outside the run while keeping shade and shelter inside it. Free-ranging changes the risk calculation because your birds leave the tested barrier. During periods of high local predator pressure, limit free-ranging to supervised daylight sessions. For feed storage and the monthly bill, see How to store chicken feed safely and calculate monthly feed costs.
Try to break in before a predator does
The finished enclosure should be tested like an animal is trying to enter. Push and lift every door. Pull at mesh corners. Inspect the gate, roof edge, vent covers, and the full apron. Crouch inside the coop with a flashlight and look for daylight around low openings. Then walk the outside and examine fresh soil after rain.
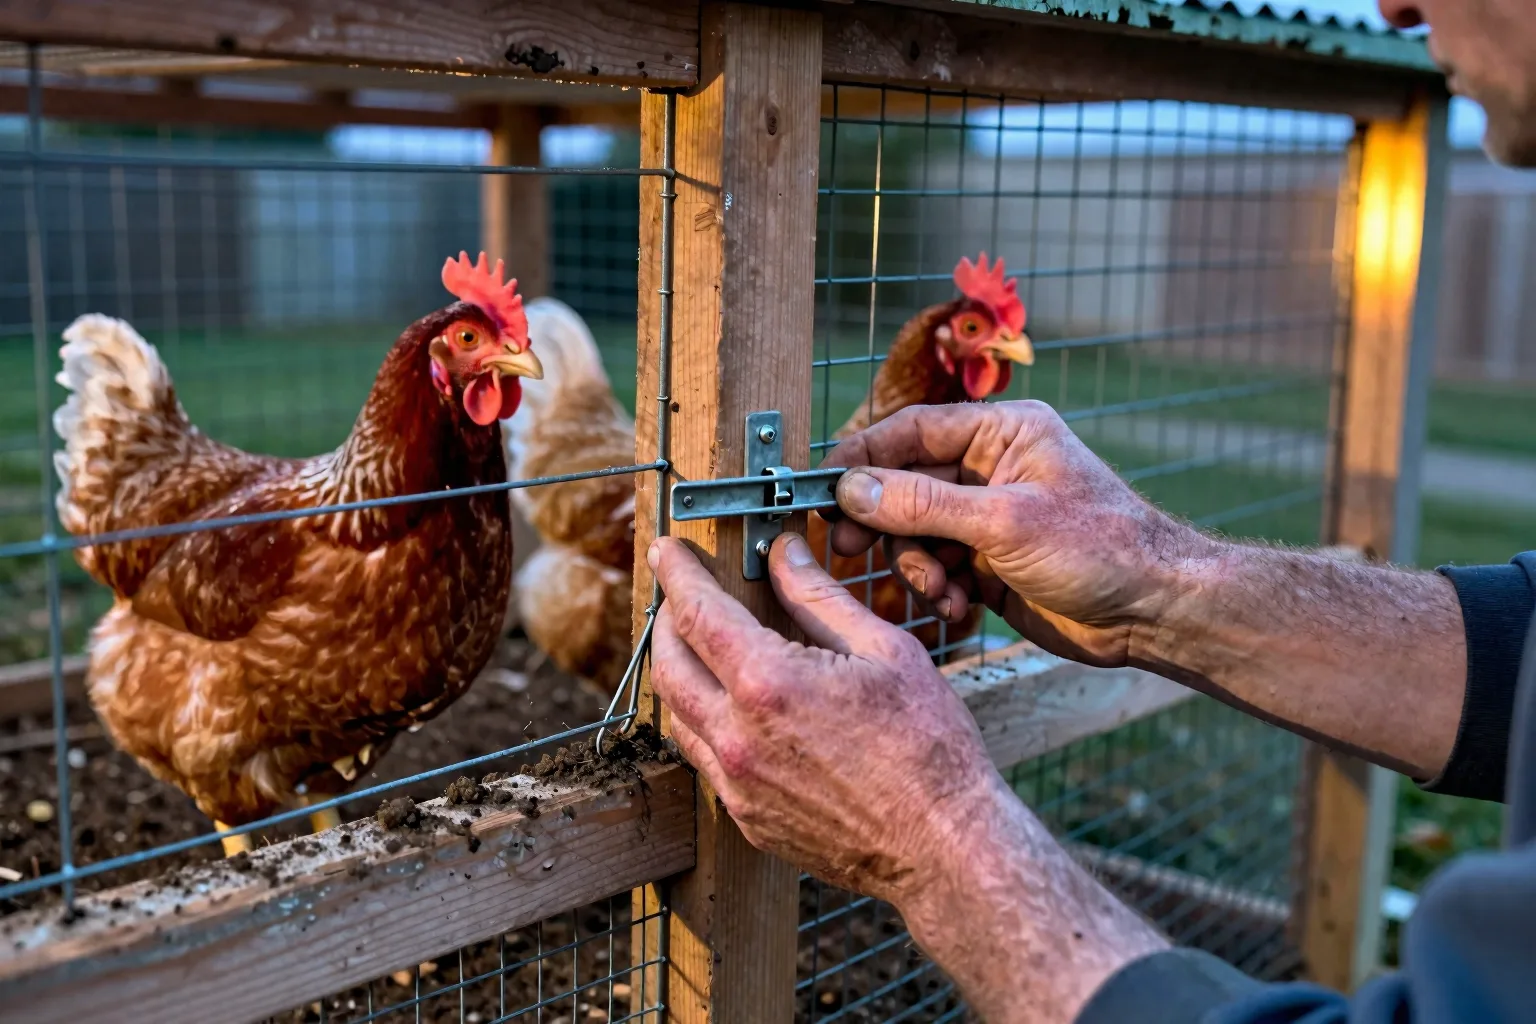
Repeat this test after strong wind, heavy snow, construction work, or moving the run. Those events can shift panels without leaving an obvious large hole. If your hand can widen a gap, a determined animal may be able to do the same. Photograph weak points as you find them, then repair the barrier before adding another deterrent.
After a breach: secure survivors, inspect injuries, and escalate
Move surviving birds to a secure box, spare pen, or closed coop before investigating the damage. Keep children and pets away from a trapped or active wild animal. Don’t corner it or reach into a dark nest box. From a safe distance, note the entry point, damaged mesh, tracks, feathers, and time of the incident.
Repair the barrier before returning the flock. Puncture wounds, eye injuries, heavy bleeding, breathing trouble, inability to stand, or unexplained weakness call for an avian veterinarian promptly. A small-looking wound can still need professional assessment, especially if it was made by a tooth or claw. For trapping, handling, or relocation, check your state or provincial wildlife agency rules for trapping, handling, and relocating wild animals. Local animal control or a wildlife office can explain the lawful next step.
Three quick questions beginners ask
Are predator lights or fake owls enough?
No. Motion lights, decoys, and noise devices may interrupt an approach for a while, but a predator can learn that the device creates no physical consequence. Use them as an extra layer after the coop, roof, mesh, and ground edge are secure.
Can a rooster protect hens from hawks, foxes, or raccoons?
A rooster may alert the flock and sometimes confront a threat. That isn’t a dependable barrier against a determined animal. Overhead cover, secure mesh, and a locked coop remain the primary defenses.
What if you find a raccoon or fox inside the run?
Keep people and pets away. Secure the birds only when you can do so without approaching the animal. Contact local animal control or a wildlife agency for removal guidance, and don’t handle or relocate a wild animal without knowing the rules in your area.
A 10-minute weekly check keeps all seven defenses working
Set a short weekly route and repeat it after storms or ground movement. Check the mesh and fasteners, test the latch, walk the roof line, inspect the 12- to 18-inch apron for erosion, trim vegetation outside the run, secure feed, and test any electric fence. A focused ten-minute check is more useful than waiting for a visible hole.
Your action this week: measure the largest opening in the coop or run, then buy the correct hardware cloth and broad washers before adding lights or decoys. After that, review How to winterize a chicken coop without supplemental heat so extra security doesn’t leave your birds in a damp, poorly ventilated box. A predator barrier works best as a routine, not a one-time project.
Frequently Asked Questions
Are predator lights or fake owls enough to protect chickens?
No. Motion lights, decoys, and noise devices may provide temporary deterrence, but predators can ignore or habituate to them; use them only as an extra layer after the coop and run are physically secure.
Can a rooster protect hens from hawks, foxes, or raccoons?
A rooster may alert the flock and sometimes confront a threat, but it cannot reliably stop a determined predator. Overhead cover, secure mesh, and a locked coop remain the primary defenses.
What should you do if you find a raccoon or fox inside the run?
Keep people and pets away, secure the birds only when it is safe, and contact local animal control or a wildlife agency for legal removal guidance. Do not handle or relocate wild animals without knowing local rules.