Chicken Predator Protection DIY: Wire, Locks, and Digging
A 3/4-inch gap under a run gate can matter more than another roll of wire. Put a tape measure beside the door, check the lower edges and corners, then test every latch with a firm push and pull. Good chicken predator protection DIY is less about one magic product and more about closing each route in the order an animal would try it.
You don’t need to identify the predator perfectly before improving the run. You need to find the opening, weak fastener, soft ground, or roof route that gives it a chance.
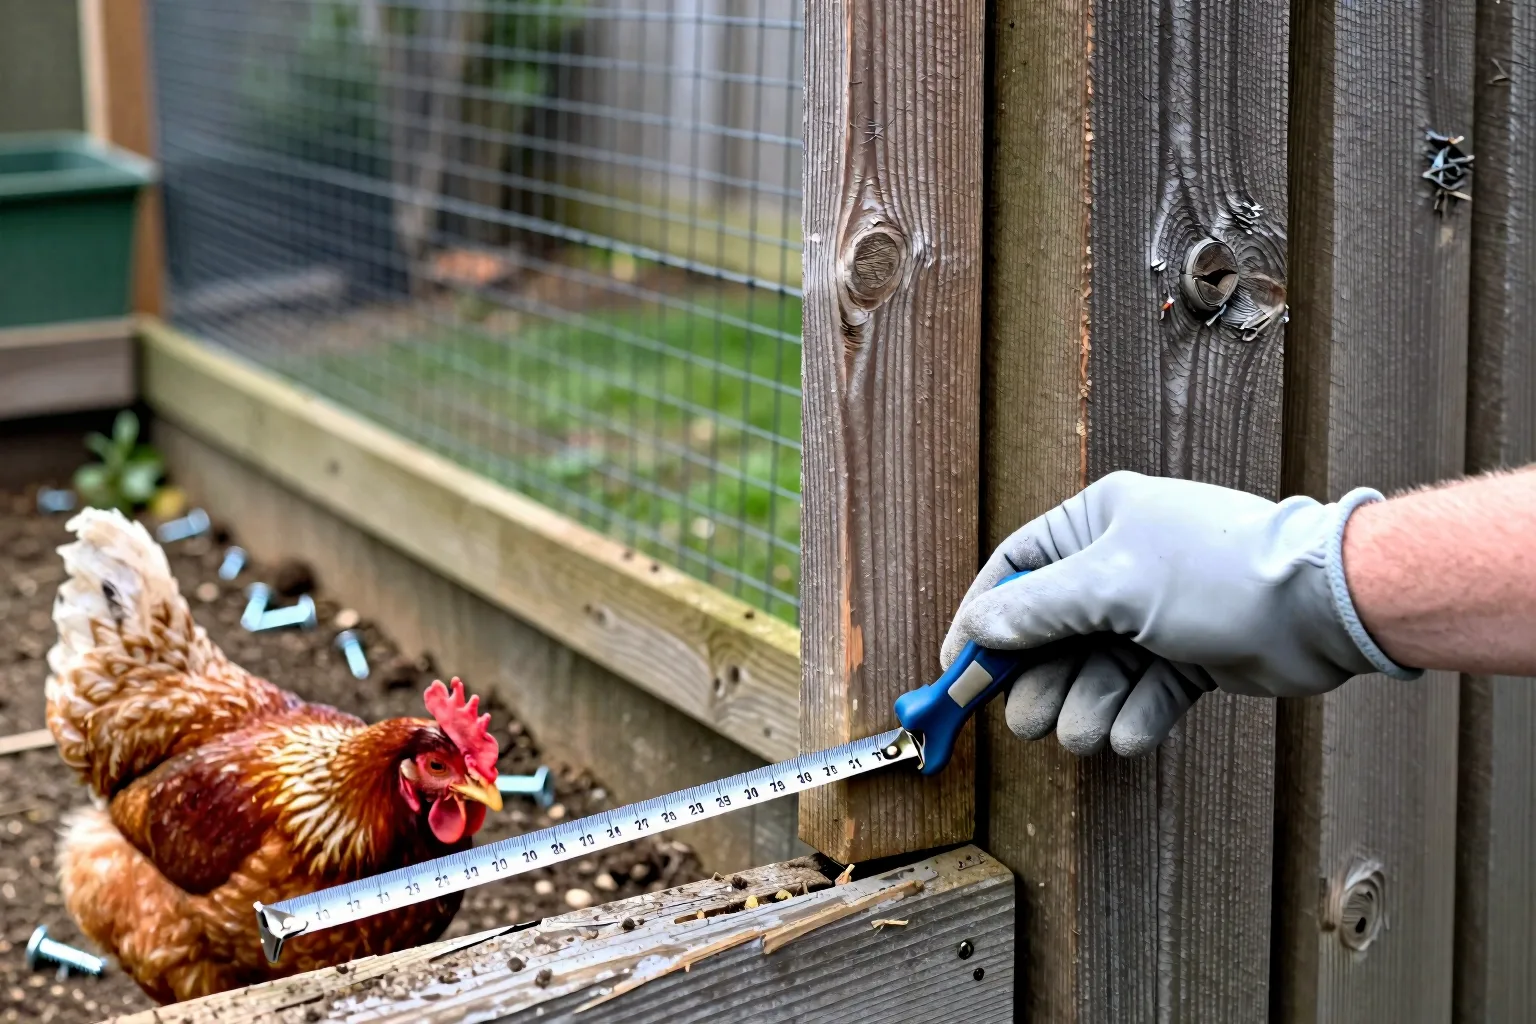
Start with a 10-minute entry audit, not a roll of wire
Set a ten-minute timer and walk the enclosure with a tape measure, screwdriver, and flashlight. Start at the bottom of the wall. Look for scraped soil, loose mesh, daylight under the gate, and corners where two panels fail to meet. Then look up. Check the roof edge, vents, pop-hole, feeder hatch, egg door, and every place a paw or hand could reach through.
Think in routes, not species:
- Dig route: disturbed soil, a lifted edge, or a soft strip beside the wall.
- Reach route: a large mesh opening or a gap beside a door.
- Climb route: an uncovered top, low roof edge, or branch touching the run.
- Lift route: a gate that rises in its hinges or a roof panel that flexes.
- Squeeze route: a narrow-looking gap that widens when the frame moves.
Don’t treat a missing mark as proof that a route is safe. Weather, grass, and repeated traffic from your birds can hide evidence. If floor space is already tight, compare the enclosure with Chicken coop and run size: how many square feet per hen before you shrink it further with storage or a second barrier.
Start with the reachable opening. Then secure the gate, block the ground route, and cover the top and service openings. That order gives you a useful repair before a full rebuild.
Replace weak mesh and fasten every edge to framing
For reachable walls, vents, and openings, a practical baseline is 1/2-inch welded hardware cloth. The small openings make a paw-through attempt harder. The welded pattern also holds its shape better than light, flexible chicken netting. It isn’t a promise against every dog or wild mammal. It is a sensible starting layer for a backyard run.
Ordinary chicken wire has a different job. It can contain your birds, but its larger openings and flexible wire aren’t a dependable predator-exclusion layer. If it is already installed, use it as a secondary layer or temporary repair while a stronger barrier goes on the outside.
Mesh protection is a chain. Opening size affects reach-through. Wire thickness affects how readily a panel bends. Framing determines whether an animal can peel an edge away. A heavier gauge can make sense on a large-dog side or a high-impact corner, but no gauge removes the need for sound framing and a closed perimeter.
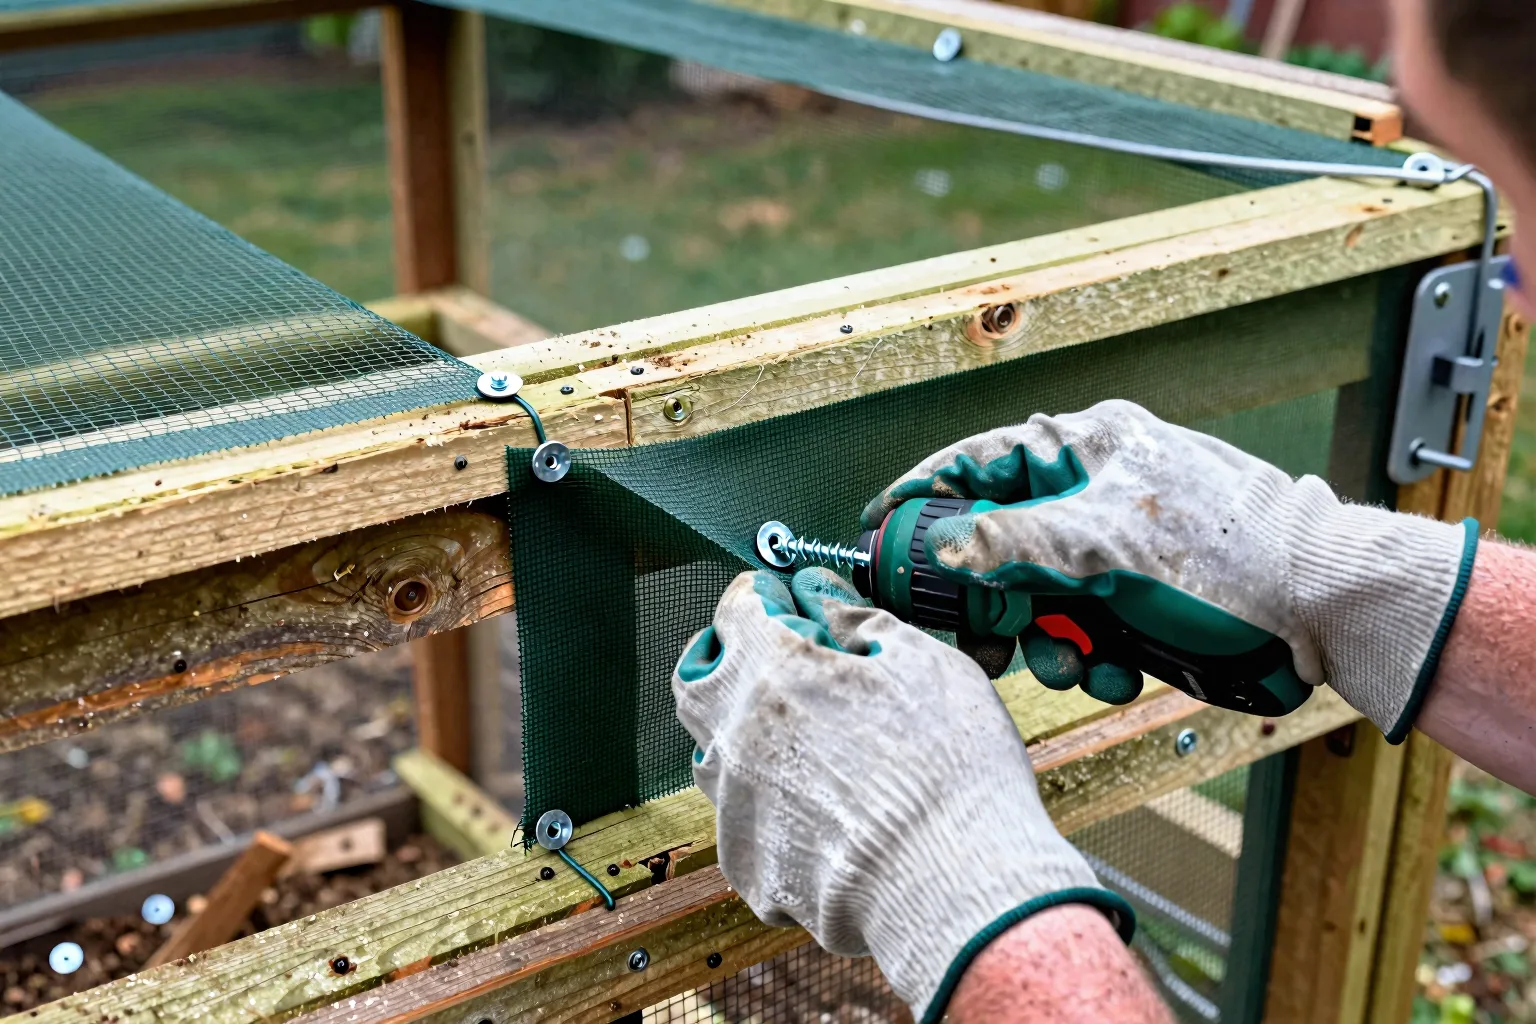
Fasten the cloth to wood or steel framing with screws and washers, or with fencing fasteners suited to that frame. A few widely spaced staples leave long flexible sections that can bow away from the wall. Along a reachable edge, a spacing to start with is roughly every 6–8 inches. Tighten that pattern at corners, joins, and around doors if the mesh moves under a hand pull.
Fold, cap, or cover cut edges. Keep joins on solid framing instead of floating in the middle of a panel. Carry the mesh around a corner far enough to meet the next piece. Before buying the final roll, compare University extension guidance on poultry predator exclusion, hardware cloth, and ground aprons with your run sketch and local conditions.
Choose an 18-inch apron or a deeper trench for the base
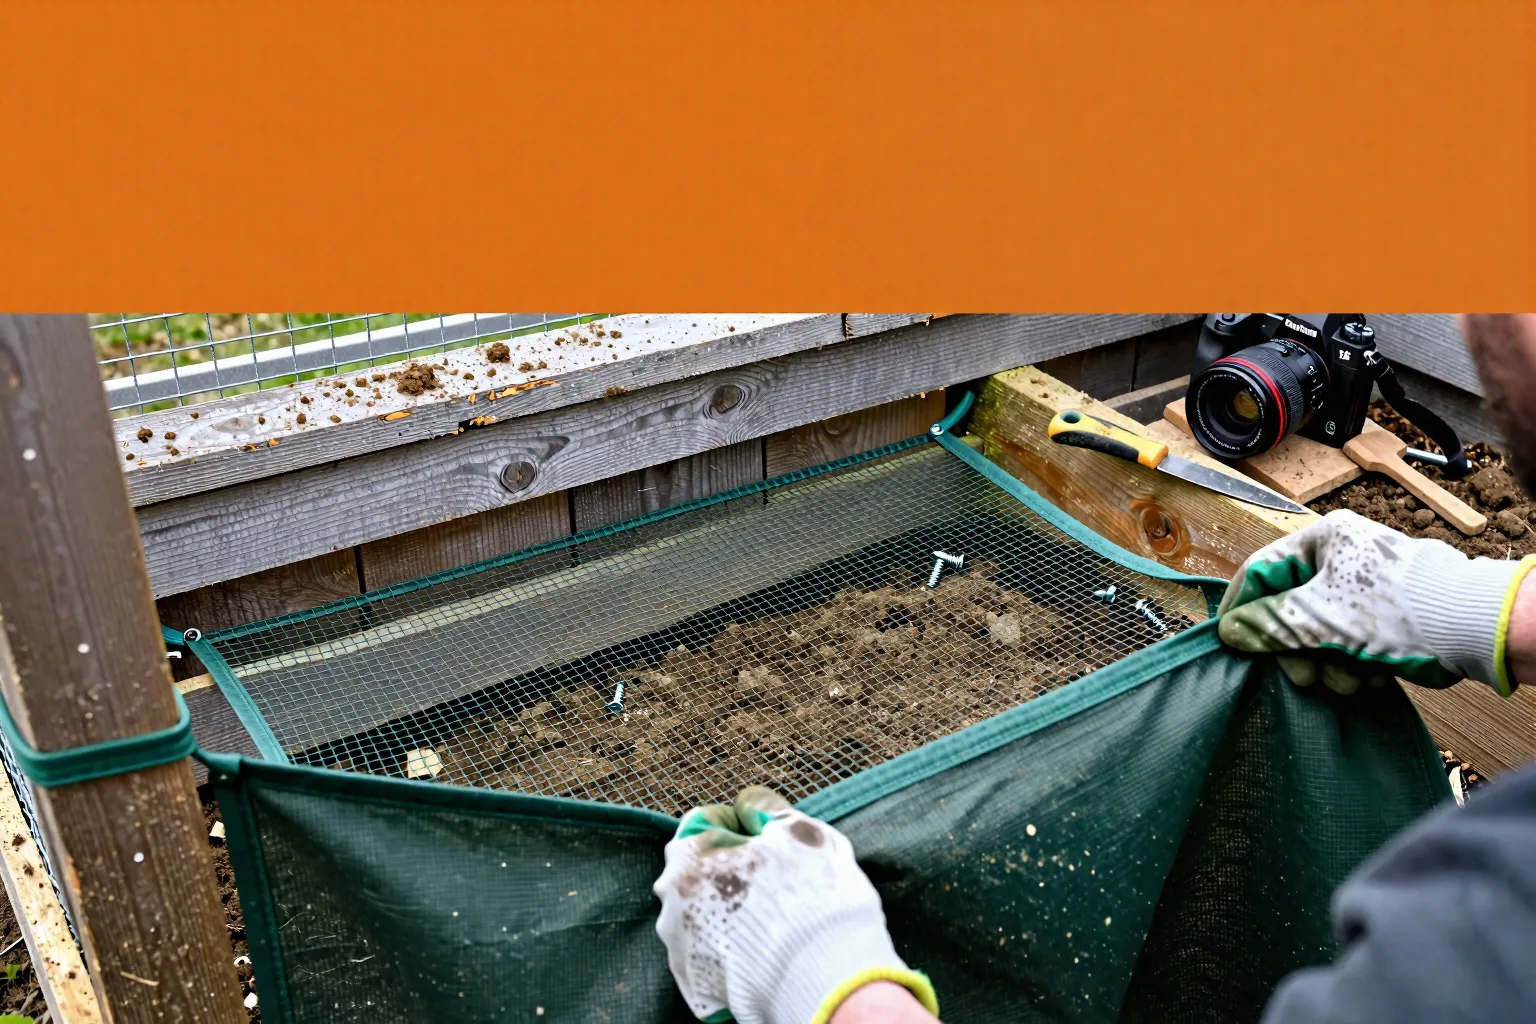
There are two practical dig barriers. For a retrofit, lay an outward apron of hardware cloth about 18–24 inches wide around the run. Pin it firmly to the bottom framing, then cover it with a shallow layer of soil, gravel, or pavers. The surface should look like part of the ground, not like a loose flap that can be lifted.
For a new run, or for especially loose soil, a vertical barrier buried roughly 12–18 inches can be cleaner. It takes more excavation, but it protects the wall line without putting mesh across a mowing path. Choose the method you can make continuous. A perfect trench that stops at the gate is not a complete barrier.
The mechanism is straightforward: a digger begins at the wall and moves soil away from the obstacle. If mesh is anchored outward or buried below the wall, that digging motion meets metal before it reaches the enclosure. The protection depends on continuity around corners, gates, service doors, and changes in ground level.
Bury or cap the cut edge. Pin down the outer edge so rain and frost can’t lift it. Keep a narrow inspection path clear enough to mow. On sloping ground, avoid creating a channel that holds water against the timber. Where excavation isn’t allowed, a broad surface apron covered with pavers is the more reversible retrofit.
A raised framed floor can remove direct soil contact beneath a small coop, but it doesn’t secure an open run or close a perimeter gap. Treat it as one part of the base design, not a substitute for a continuous enclosure barrier.
Build the gate as a wall, not a weak opening
Build a square, rigid gate frame and attach the mesh to that frame. Don’t stretch one loose sheet across a flexible opening and expect the latch to keep the shape. A rigid frame keeps the gap predictable when you push the door and gives every fastener a solid place to bite.
Use about 1 inch or less as a practical target for the bottom and side gaps. This is a fit target, not a guarantee against every animal. Uneven ground needs a threshold, a short raised rail, or a small continuation of the ground apron. Don’t leave a triangular opening where the threshold meets the side post.
Check the hinge side with the gate open and closed. Mesh that stops short there creates a reach route even if the latch side looks tight. A sagging gate can also open a gap at the lower corner. If the door can be lifted enough to clear its hinges, add a stop, keeper, or hardware that prevents upward movement.
Make the gate’s base barrier meet the wall’s barrier. A gap between those two pieces is still a route, even if both sections look sturdy on their own.
Use a two-action latch that you can operate in the dark
A single hook-and-eye or loose slide bolt gives a determined animal one simple movement to defeat. A latch’s height may slow a casual push, but it doesn’t correct a bolt that can slide, twist, or bounce loose. A raccoon-proof claim cannot rest on height alone.
A useful DIY combination is a properly seated slide bolt or hasp plus a second closure: a spring clip, carabiner, or lockable hasp. The door must be moved in two separate ways before it opens. For daily use, the clip should be quick enough that you’ll actually engage it every night. When you’re away overnight, a lockable closure makes the final check more deliberate.
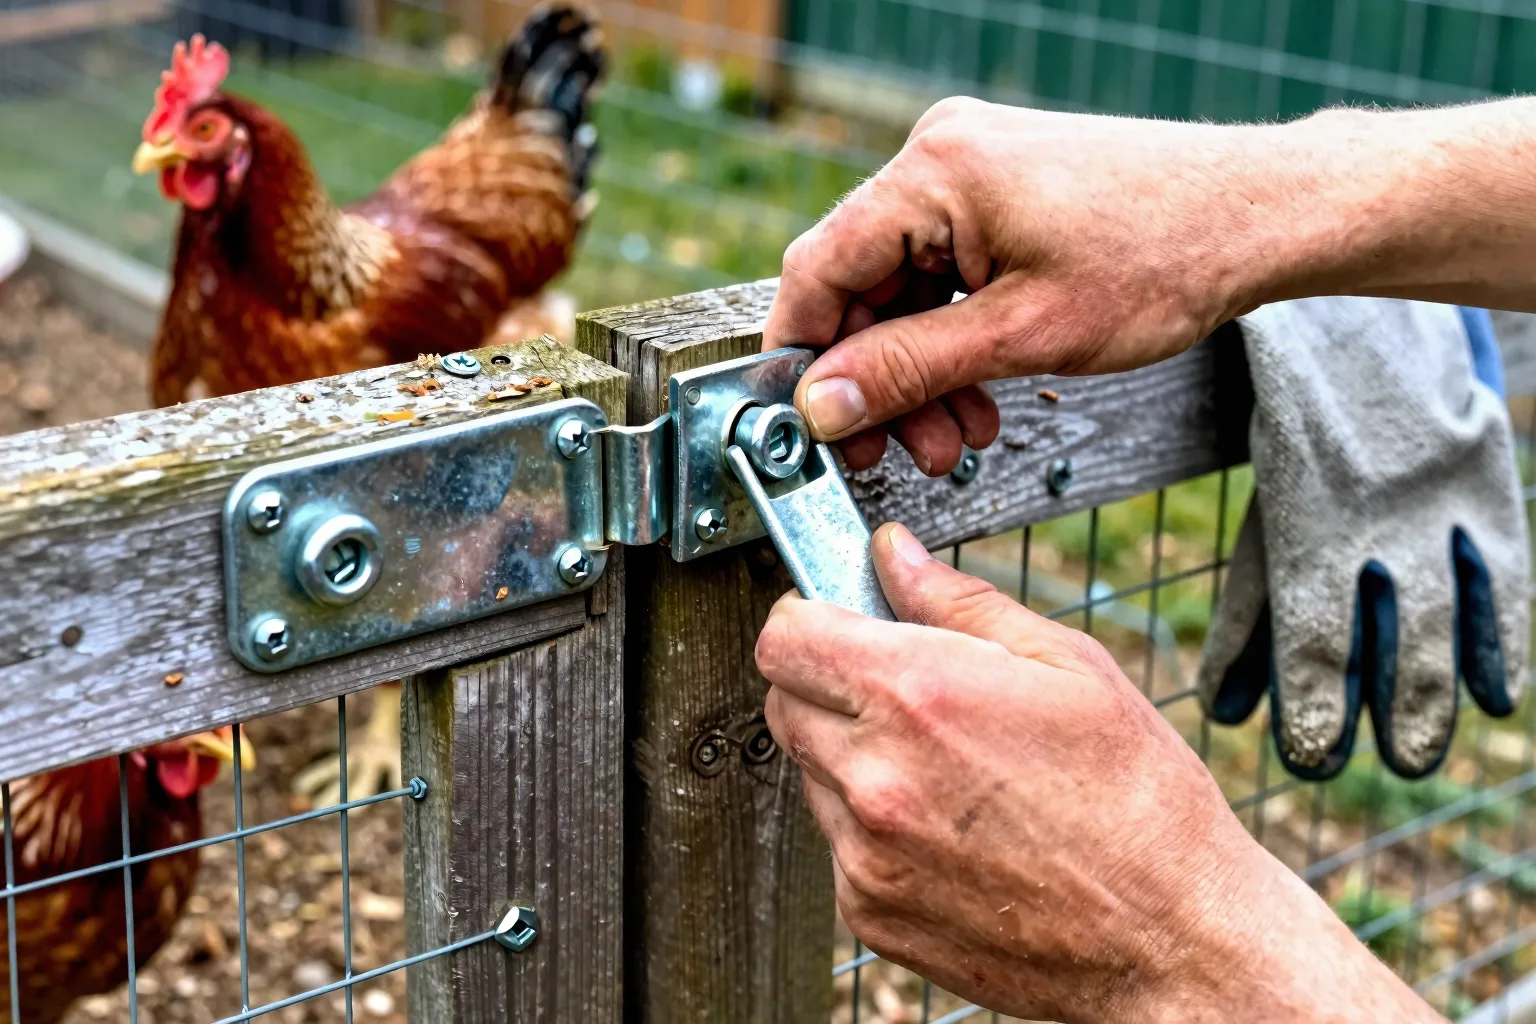
Test the latch from both sides. Push the gate inward. Pull it outward. Lift at the latch corner. Then operate the closure with one hand in the dark. If the bolt misses its keeper or the door flexes away from the frame, fix the geometry rather than adding a third lock.
Close the top, vents, and every service opening
A wall-only run leaves an aerial route open. If hawks or owls visit your yard, a fully covered run is the dependable design choice for the time your birds spend outside. Lightweight bird netting can act as an aerial deterrent, but treat it as a supplement rather than a rigid security surface. Wind, climbing pressure, and accumulated snow can turn a soft top into a sagging opening.
Rigid welded wire is the stronger option where the roof must resist contact or weather, provided the frame supports it. Give the roof edge the same attention as the walls. A small overhang isn’t a sealed edge if mesh stops short beneath it.
Protect vents without sealing the coop. Cover each opening with securely fastened mesh while keeping the high and low airflow paths your birds need. The pop-hole, feeder hatch, egg door, and gaps under roof trim belong on the same closure list. For the airflow side of that job, pair this build with Chicken coop ventilation in winter: vents without drafts.
Try every failure point, then put checks on the calendar
Construction isn’t finished when the last screw goes in. Test the enclosure as if you were trying to get inside it.
- Pull against several mesh panels and inspect washers, screws, and staples.
- Probe the apron after rain. Look for lifted edges, fresh soil, and washed-out cover.
- Shake the gate, check the hinge side, and inspect the bottom corners.
- Push, pull, and lift at the latch corner.
- Operate every latch with one hand and a flashlight.
Put a brief inspection on the weekly calendar. Repeat it after high wind, heavy rain, ground excavation, tree work, or repairs near the run. A short check is easier before your birds are shut in for the night.
If you find fresh digging or bent wire, secure your birds first. Make a temporary repair that removes the immediate opening, then complete the permanent fix before allowing free-ranging again. Motion lights, noise, and a loose board can support a barrier, but they shouldn’t be the final barrier.
Puncture wounds, uncontrolled bleeding, breathing trouble, weakness, or a suspected fracture are veterinary problems rather than home-repair problems. Once skin is broken, veterinary guidance on puncture wounds, bleeding, and other injuries after a predator encounter is a better reference than a hardware list.
Price a 4×8-foot run and build it in the right order
For a concrete small-flock plan, picture a run 4 feet wide, 8 feet long, and roughly 6 feet high. That gives you 32 square feet of floor space. Using an 8–10-square-foot run target per hen, the footprint suits about 3–4 hens. Six hens need a larger run or ranging time you can reliably provide during bad weather, workdays, and periods of predator activity.
The shopping list is deliberately plain:
- Framing lumber or metal for rigid walls and a gate.
- 1/2-inch welded hardware cloth for reachable sides, vents, and openings.
- A roof surface or supported rigid wire top.
- Apron pins, trench materials, gravel, soil, or pavers.
- Screws with washers, hinges, a gate stop, and two-action latch hardware.
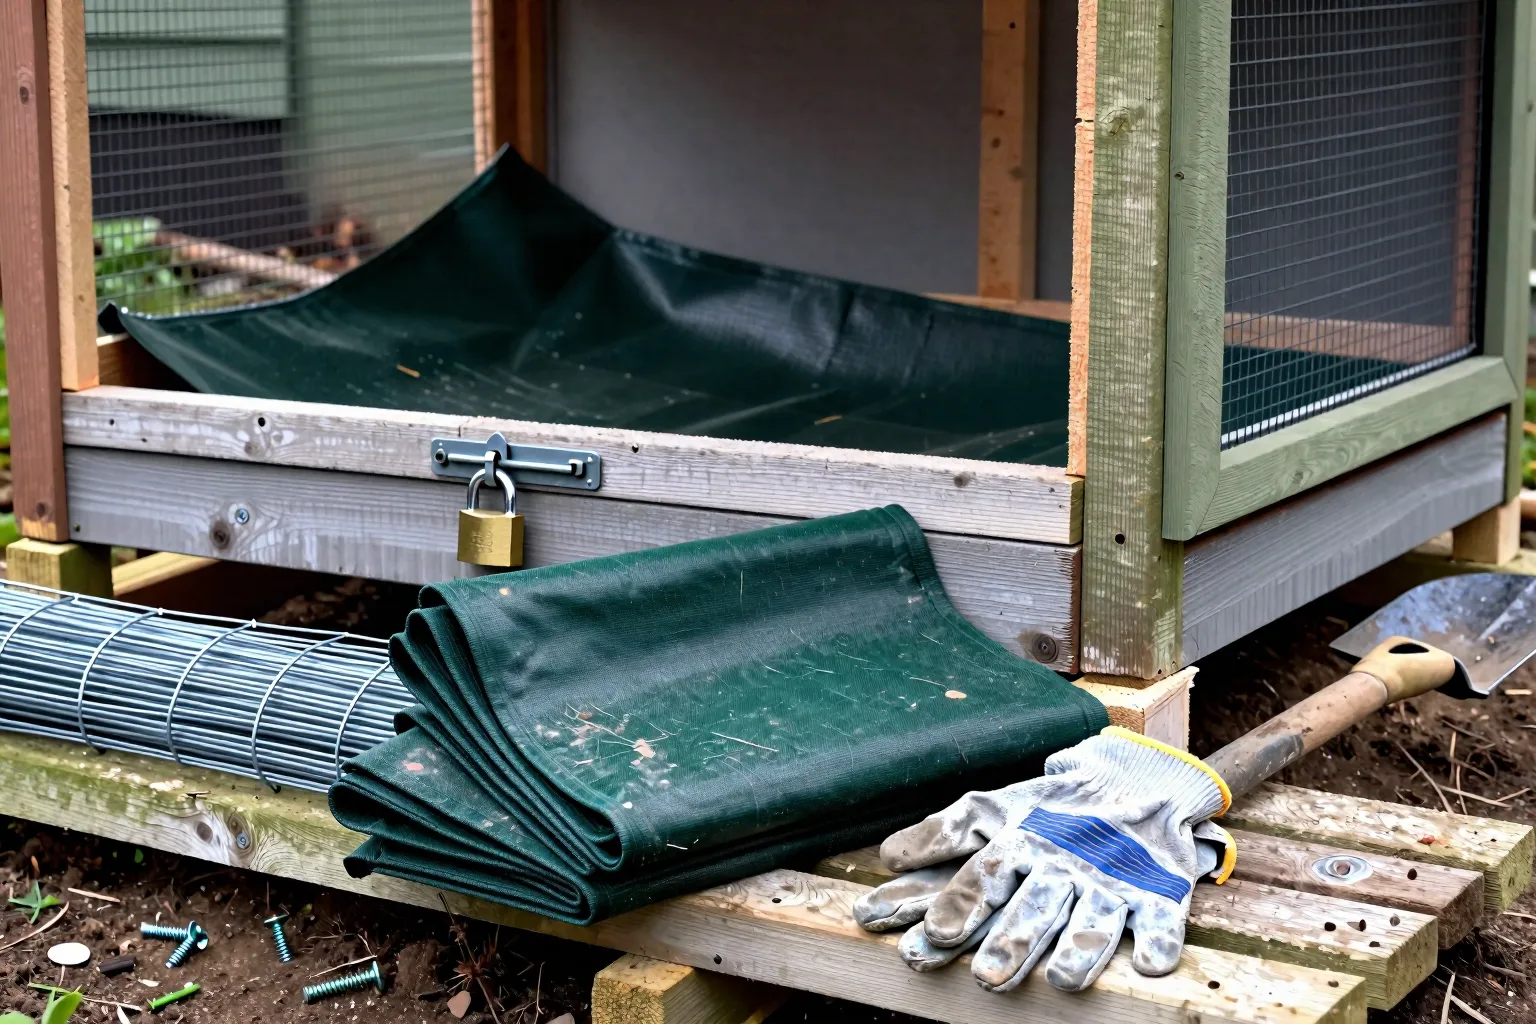
For new materials in the United States, a reasonable planning allowance is roughly $300–$825 before labor and tools. Treat that as a budgeting range, not a price promise. Lumber length, mesh gauge, roof material, salvage, fastener packs, and soil conditions can move it sharply. A heavy roof and difficult excavation push the allowance upward. Sound salvaged framing can pull it downward, but only if it remains square, dry, and free of rot. Check current local prices before committing to the design.
Build in this order: square the main frame; fasten the wall mesh; carry the base barrier around every corner; frame and hang the gate; fit the threshold; add the roof; cover vents and service openings; install the two-action latch; then perform the push, pull, lift, and rain checks.
Keep the one-time enclosure project separate from feed spending. For the recurring side of the flock budget, use How much does it cost to feed six hens per month? The run protects your birds, but it won’t make feed costs disappear.
FAQ: three shortcuts that don’t replace a barrier
Can an electric fence replace a buried or apron barrier?
Usually not as the only barrier. An electric line can supplement a fixed enclosure for some ground predators, but it doesn’t seal reach-through gaps, stop hawks, or protect your birds during a power failure. The useful question is whether the line fits your predator route, run layout, maintenance routine, and local rules. An electric line is a rules question before it is a hardware question, so read local wildlife agency rules for trapping, relocation, and electric predator fencing before installing one.
Will motion lights, alarms, or a radio keep raccoons away?
Treat sound and light as temporary supplements. A repeated stimulus can become background noise, and none of these devices closes a gap or stops digging. Secure mesh, a continuous ground barrier, and locked doors should remain the primary protection. If a device helps, use it to buy time while you repair the enclosure, not as permission to leave the gate loosely closed.
How can you add digging protection if you can’t excavate?
Use a wide surface apron fastened to the base and covered with pavers, gravel, or soil. Keep it continuous at corners and gates. If the coop itself can be altered, a raised framed floor reduces soil contact beneath that small structure, but the open run still needs its own barrier. Get permission before making permanent changes to a rented yard.
This week, spend ten minutes mapping every gap, then close the easiest reachable route before buying more supplies. After that first repair, read Chicken coop ventilation in winter: vents without drafts before sealing the roof line, and pair it with Brooder setup for chicks: safe placement inside a predator-protected area if chicks are on your calendar. Secure wire and sound airflow are separate jobs, and your birds need both.
Frequently Asked Questions
Can an electric fence replace a buried or apron barrier around a chicken run?
Usually not as the only barrier. Electric fencing can supplement a fixed enclosure for some ground predators, but it does not seal reach-through gaps, stop hawks, or protect birds during a power failure; predator type, layout, and local rules determine whether it is useful.
Will motion lights, alarms, or a radio keep raccoons away from chickens?
Treat sound and light deterrents as temporary supplements. Predators can become accustomed to them, so secure mesh, a continuous ground barrier, and locked doors should remain the primary protection.
How can you add digging protection if you cannot excavate around a rented coop?
Use a wide surface apron fastened to the base and covered with pavers, gravel, or soil, or build the coop on a raised framed floor. Keep the barrier continuous at corners and gates, and get permission before making permanent changes.