Raising Baby Chicks in Summer: Brooder Temps by Week
95°F (35°C) at chick-back height is your week-one target. The thermometer belongs in the warm zone, close to where a chick’s back sits, rather than up by the brooder lid. A probe in the wrong place can report a comfortable number while the chicks press into one warm corner.
For raising baby chicks in summer, build a temperature gradient. Give your chicks warmth at one end, shade and cooler air at the other, and a clear path between them. Use the weekly figures below as a working schedule. Your shaded room temperature, breed, feathering, and overnight low can move the decision by several days.
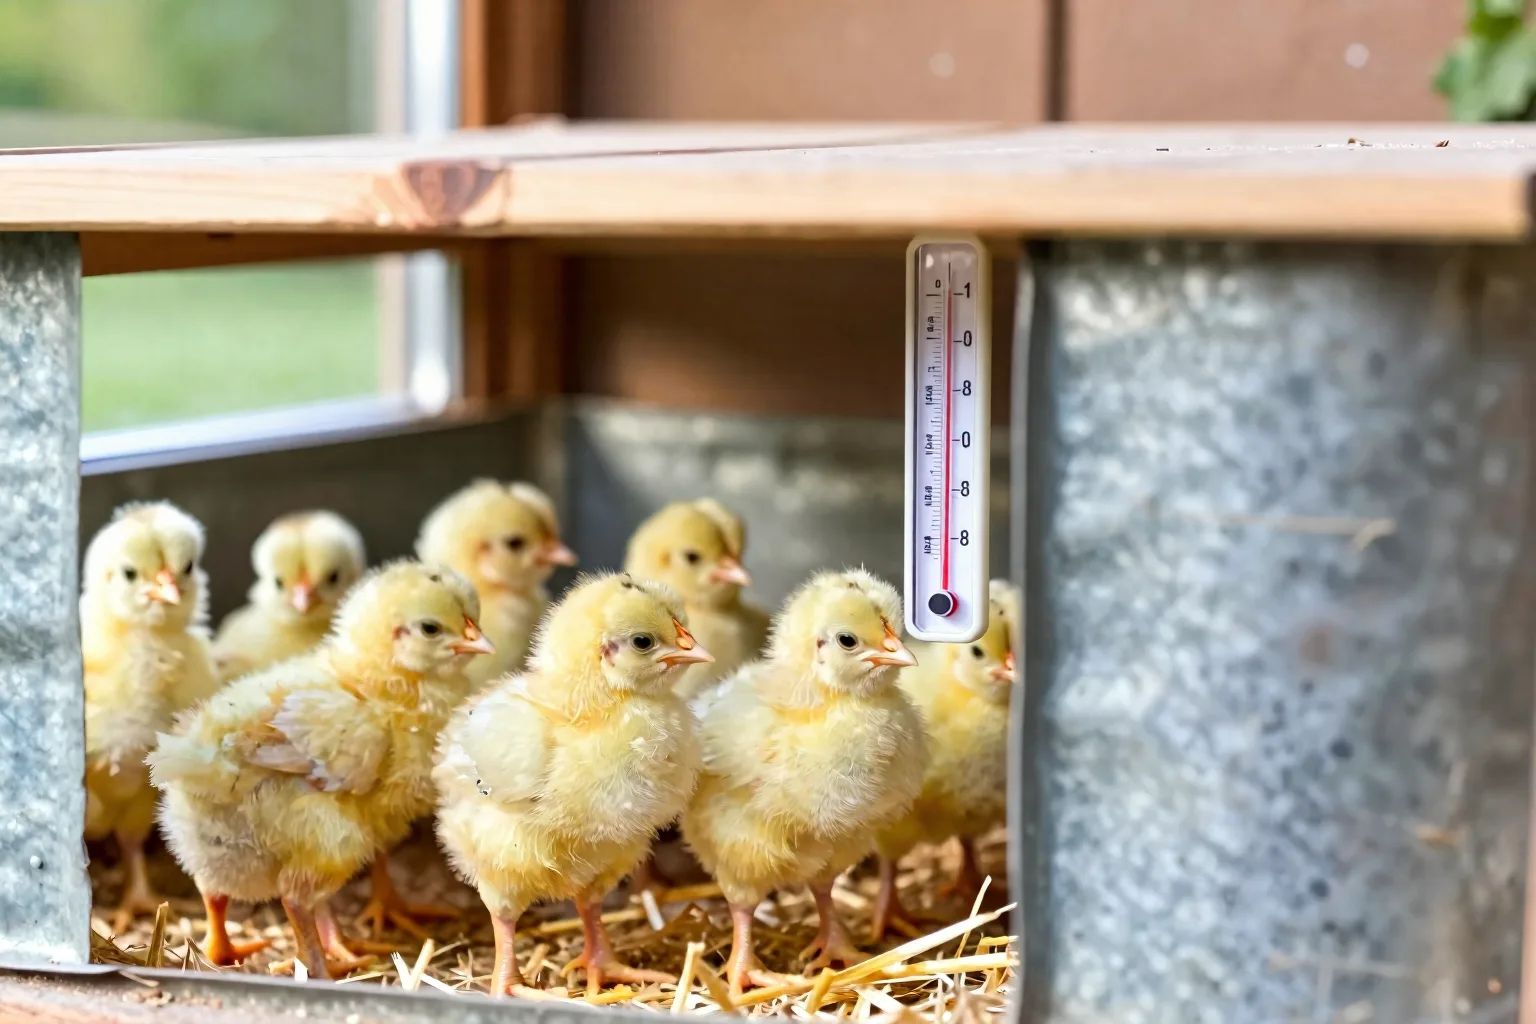
Start at 95°F: the summer brooder temperature chart by week
Write the target on a card beside the brooder. It applies to the warm zone, not every square inch of the enclosure.
| Age | Warm-zone target | Practical change |
|---|---|---|
| Week 1 | About 95°F / 35°C | Keep a dependable warm area available. |
| Week 2 | About 90°F / 32°C | Raise or reduce the heater slightly. |
| Week 3 | About 85°F / 29°C | Let growing feathers carry more of the insulation. |
| Week 4 | About 80°F / 27°C | Keep the cooler side roomy and dry. |
| Week 5 | About 75°F / 24°C | Use feather coverage and night readings to guide you. |
| Week 6 | About 70°F / 21°C, or ambient | Fully feathered chicks may be ready for normal room conditions. |
The usual taper is roughly 5°F (3°C) per week. That gradual drop follows the change from fluffy down to insulating body feathers. A very warm room can make a heater unnecessary for part of the day, while an air-conditioned room or cool night can still leave a gap between ambient air and the warm-zone target.
Before you build around this card, compare it with University extension guidance on brooding temperatures and chick-level thermometer placement, especially if your hatchery or local climate differs.
Set up two temperatures, not one hot box
Put the heat source over one end of the brooder. Leave the opposite end open to room air, with shade from direct sun. Food and water belong on the cooler side of the warm edge, where chicks can reach them without sleeping underneath the heater. Keep litter dry and give every chick enough floor space to leave the warm patch without climbing over a nest mate.
For eight chicks in a 2-by-3-foot brooder, a useful starting layout is a heat plate covering one short end, a clear strip of dry bedding in the middle, and the waterer and feeder toward the cool end. Watch the first evening closely. If all eight chicks stay under the plate, check the temperature and drafts. If they all sleep against the far wall, the warm area may be too hot or too large.
Three chicks can lose access to warmth if the heater is too large or the brooder has nowhere to escape. Ten to twelve chicks create more body heat in a cluster and can make litter damp faster, so crowding and water spills deserve regular checks. A heat plate is often the calmer choice for a small backyard flock because it warms a defined contact area. A heat lamp can work, but it needs fixed support, clear bedding space, sound cords, and the manufacturer’s required clearance. A clamp alone is a poor safety plan. For equipment details, follow fire-safety guidance for heat lamps, heat plates, cords, and outdoor brooders.
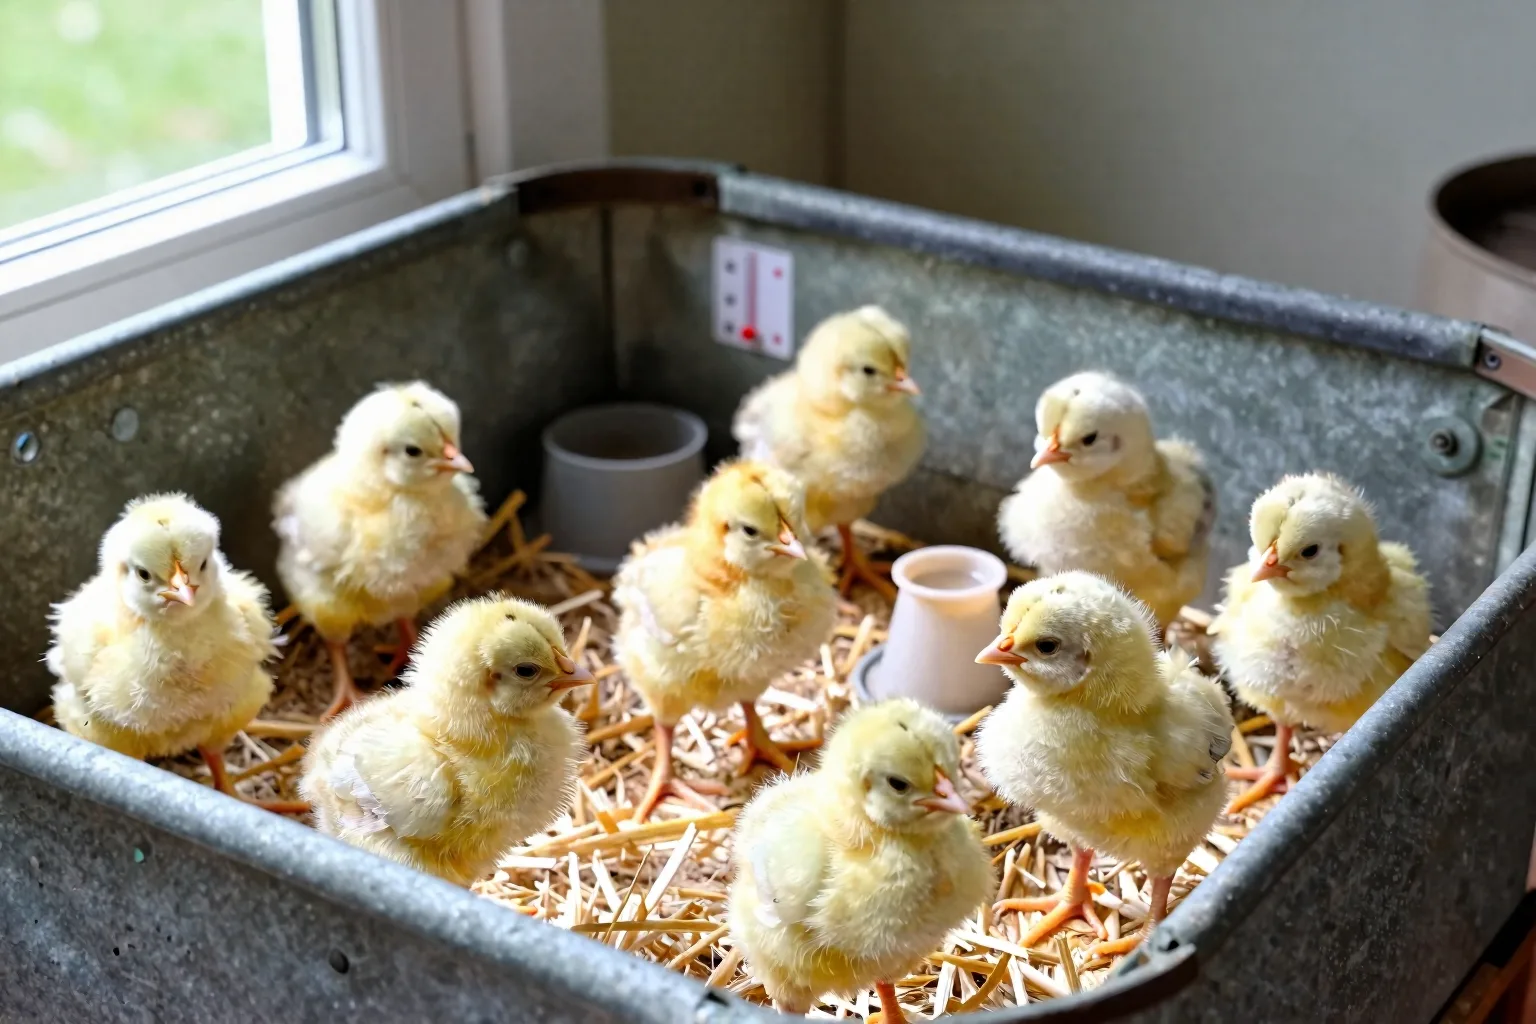
Week 1 is the close-watch week
The first seven days are when small setup errors show up quickly. Check the brooder before the chicks arrive, then use a simple routine instead of relying on one glance at the thermometer.
- At arrival: confirm the warm-zone reading, dry the litter if needed, and make sure water is easy to find.
- After 30 to 60 minutes: look for active chicks spreading out, drinking, pecking, and resting in loose groups.
- At dusk: check whether the group can settle without piling tightly under the heat source.
- At the first morning check: inspect the cool zone, waterer, litter, and chick behavior before changing the heater.
One useful physical clue is the route between places. A comfortable chick can leave the warm edge, cross dry litter, drink, peck, and return to rest. Persistent sharp peeping and a tight mass call for a draft and temperature check. A chick that stays away from the heater may be too warm, but wet bedding, a blocked waterer, or a slippery floor can also change behavior.
Keep chick starter available and water clean throughout this period. For the feed side of the first weeks, use How much chick starter feed do baby chicks eat each week? as a separate planning guide.
Weeks 2 and 3: lower heat while feathers take over
Set the warm zone near 90°F (32°C) at the start of week 2 and near 85°F (29°C) at the start of week 3. Wing feathers usually appear before the body is well covered, so a chick can look busy and active while still needing a reliable warm retreat.
Make one small equipment change at a time. With a heat plate, raise it only as the instructions allow, keeping the lower edge within easy reach while leaving enough clearance for chicks to walk out. With a lamp and thermostat, reduce output or adjust the setting gradually. Wait through the evening and the next cool morning before making another change.
Summer can create two different brooder climates in one day. An 88°F afternoon may need very little supplemental heat for a week-two group, while a 72°F air-conditioned room still needs a warmer zone. Rain, an open window, or a cool overnight floor can change the reading without changing the calendar.
Weeks 4 to 6: let feathering, not the calendar, decide
The later working targets are about 80°F (27°C) in week 4, 75°F (24°C) in week 5, and about 70°F (21°C) or ambient conditions by week 6. Look across the back, breast, and wings. Chicks with broad areas of down or bare skin need more protection than fully feathered birds of the same age.
- Observe where the chicks choose to sleep and spend their active time.
- Read the warm zone and the room or cool-zone temperature at chick height.
- Reduce heat output or raise the heater within its safe operating instructions.
- Recheck after dusk and again during the next morning’s lowest temperature.
Breed, hatch timing, health, flock size, and the building itself can shift this timetable. A six-week group that is fully feathered in a dry 74°F room may have no practical need for supplemental heat. The same-aged group in a drafty shed with a much lower night temperature needs a safer transition plan.
When summer weather is hotter than the brooder target
When shaded ambient air already meets or exceeds the age-appropriate target, extra heat can remove the chicks’ ability to cool themselves. Turn supplemental heat down or off for that hot period, then provide shade, clean water, dry litter, and a cooler end with room for every chick to spread out.
- Move the brooder away from a sunny window, greenhouse wall, or dark surface that absorbs heat.
- Use cross-ventilation to exchange warm room air, while keeping the fan from blowing directly across the chicks.
- Check water during the hottest part of the day. With ten to twelve chicks, a second stable water point can reduce crowding around one station.
- Replace wet litter promptly. Moisture and heat together make the brooder harder to keep comfortable.
- Keep the heater available for a cooler night only if the chicks still have a genuine temperature gap and the equipment is safely installed.
For example, a week-one group in shaded 94°F air does not need a lamp pushing one corner above that temperature. It needs a cool, airy refuge and close observation. A week-three group in 82°F air may still benefit from an 85°F warm zone, but the source should cover a small area so the chicks can step away immediately. Panting, open-mouth breathing, wings held away from the body, and avoidance of the warm zone are reasons to reduce heat first and investigate further if they continue.
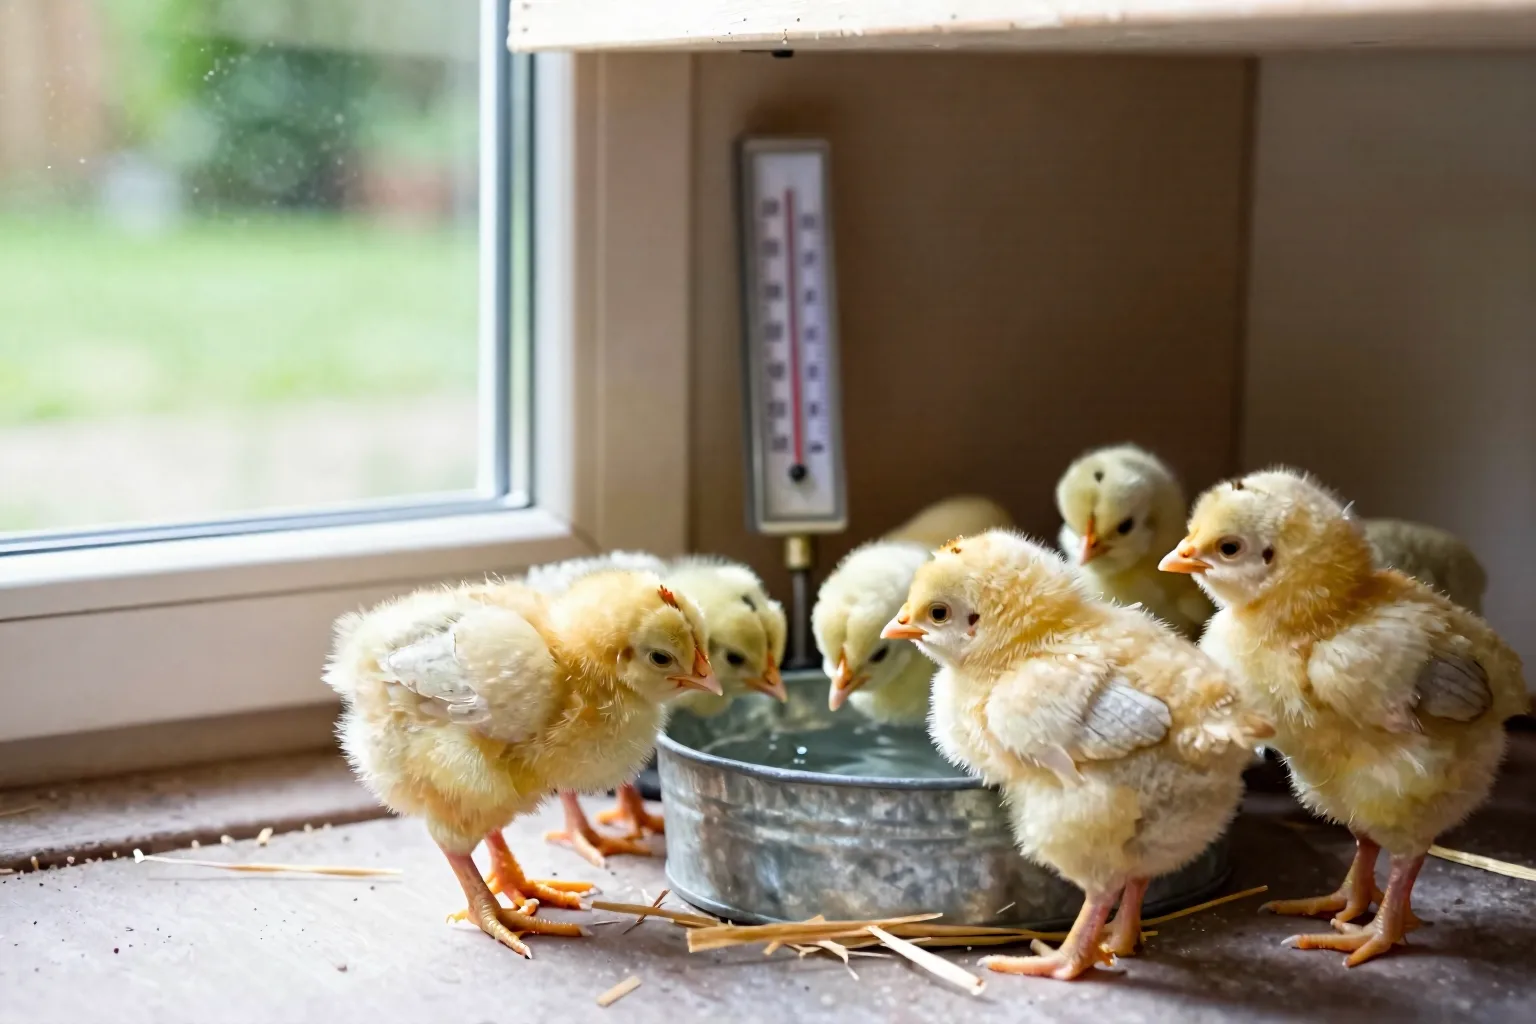
Take readings that mean something
Use a reliable probe thermometer for the air. Place it in the warm zone at the height of a chick’s back, with the probe away from direct contact with the heat source. Take a second reading in the cool zone. That pair tells you both what the heater produces and what escape space is actually available.
- Let the brooder settle after setup before recording the first readings.
- Check again after moving a heater, changing its height, or adding a lid.
- Measure shaded air during the hottest part of a summer day.
- Check again after dusk or before sunrise during a cool spell.
Infrared thermometers read surfaces, so a warm wall, lamp guard, or sunlit litter patch can mislead you about air temperature. A thermometer mounted high on a wall also misses the pocket where the chicks live. Keep the sensor at chick level, and avoid placing it where a chick can peck the cord or pull it into water.
Read the chicks: a symptom-to-fix table for summer
Read behavior as a second thermometer beside the actual probe. Change one condition, then watch the group instead of turning the dial repeatedly.
| What you see | First checks | Safe first adjustment |
|---|---|---|
| Tight huddle and persistent loud peeping | Warm-zone reading, drafts, wet litter, blocked access | Remove the draft or restore a safe warm zone, then reassess. |
| Chicks spread to the edges, pant, or hold wings away | Warm-zone reading, direct sun, fan direction, water | Switch off or reduce heat and improve shade and air exchange. |
| Repeated piling or chicks unable to move apart | Brooder space, slippery footing, blocked corners, heat placement | Clear the obstruction, improve traction, and check every chick. |
| Lethargy, poor drinking, weakness, or isolation | Water access, temperature, footing, droppings, breathing | Correct the setup while seeking professional advice if the chick remains weak. |
Do not keep changing temperature to solve a problem that may be illness or injury. A chick that cannot stand, will not drink, has breathing trouble, has bloody droppings, or is one of several affected chicks needs prompt advice from a veterinarian or local poultry-health professional. Home adjustments are reasonable for a clear draft or overheated corner; they are a poor substitute for an examination when weakness persists.
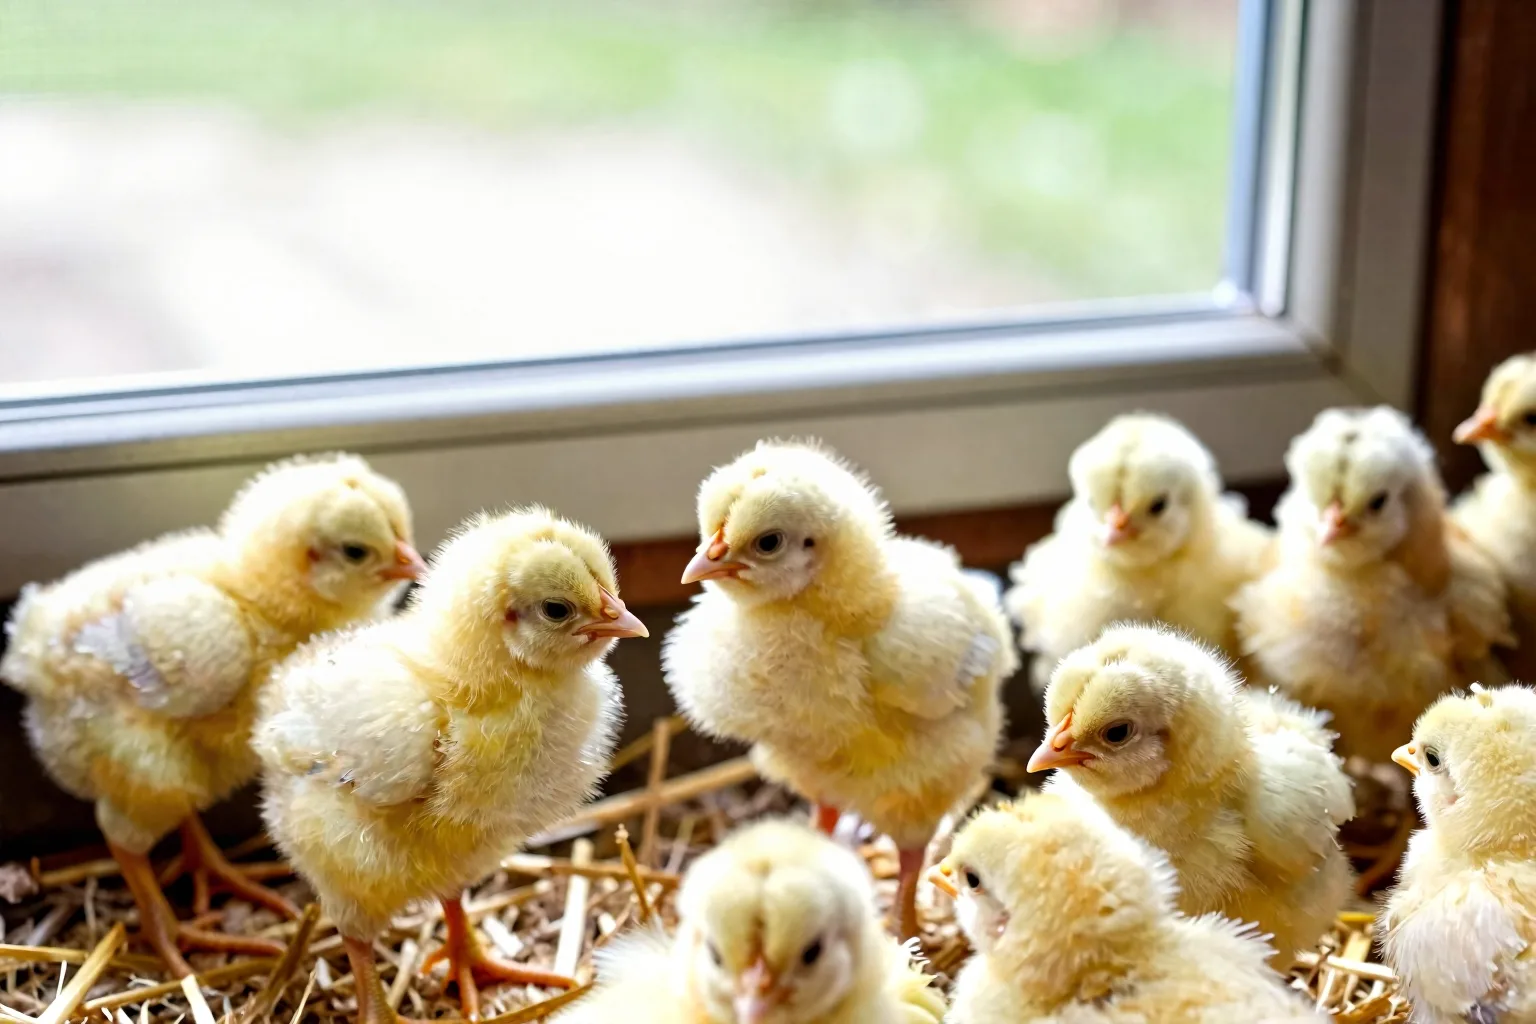
For a fuller behavior walkthrough, use How to tell whether chicks are cold, hot, or unwell. It can help you separate a temperature correction from a health problem.
The move outdoors is a weather-and-feather test
The chart gets you close to the transition, but the yard decides the final timing. Fully feathered chicks can often leave the brooder around 5 to 8 weeks, depending on breed, shelter, wind, rain, and the overnight low. That window works as a rule of thumb because it usually lines up with the point where body feathers take over from down — but outdoor shelter, wind, and the overnight low are what actually decide the day.
Start with several supervised daytime outings in a secure, shaded pen. Bring the chicks back before the evening temperature falls. The first overnight move calls for a dry, draft-free coop, secure small-opening mesh, stable food and water at chick height, and protection from rain and predators. An outdoor heat lamp adds fire and equipment risk, so use one only when the unit and installation are specifically suitable for that setting.
This week, make a six-row temperature card, place one probe in the warm zone and one in the cool zone, and test both during the hottest afternoon and the coolest part of the night before your chicks arrive. Then work through the Brooder setup checklist for 3 to 12 chicks. When the flock is ready for outside practice, use Predator-proofing a chick run before moving birds outdoors before the first outing.